Can a simple routine keep your kitchen looking like it came from a showroom?
Experts say yes. Fingerprints and spills show up fast on brushed metal, so a reliable method matters. This introduction sets clear expectations: safe, efficient techniques with exact mixes, the right tools, and pro tips to protect finishes.
Readers will learn a core workflow: prep, mix a mild solution, work with the grain, rinse, and dry for a streak-free look and lasting shine. Use microfiber towels and mild soap—avoid abrasive shortcuts that can dull or scratch the finish.
This guide draws on professional advice: precise dilution ratios, handling hard water spots with vinegar, and using baking soda for rust. The goal is a uniform, residue-free surface that keeps the appliance texture intact.
Before You Start: Safety, Surfaces, and Smart Prep
Always check the manufacturer’s directions and surface coating before applying products. Confirm whether the finish is bare or coated—coatings need gentler care. Rochelle Wilkinson warns against flammable products near gas ovens; residue near a flame is a safety risk.
- Read the owner’s manual for coating-specific guidance and approved cleaners.
- Identify the finish and note the grain direction; plan to work with that direction.
- Cool the appliance, ventilate the kitchen, and keep water away from controls.
- Test any product on a hidden edge before full application.
What to never use:
- Do not use abrasive cleaners, scouring pads, or powders—their grit causes micro-scratches.
- Avoid chlorides/chlorine and ammonia; they harm the chromium oxide layer and cause discoloration.
- Be cautious with alcohol-based glass products; they can leave streaks—test first if allowed by the manual.
- Skip oil-heavy polishes for routine care; they attract dust and fingerprints over time.
Prep tools: keep a dedicated microfiber cloth and a clean, lint-free rag for each steel appliance. Plan consistent passes that follow the grain to reduce streaks and avoid new stains.
What You’ll Need for Cleaning Stainless Steel Appliances
Gather the essentials before starting: a spray bottle with the expert all-purpose mix — 1½ cups water plus ½ teaspoon dish soap — and a set of microfiber towels. This mild cleaning solution removes grease without etching the finish.
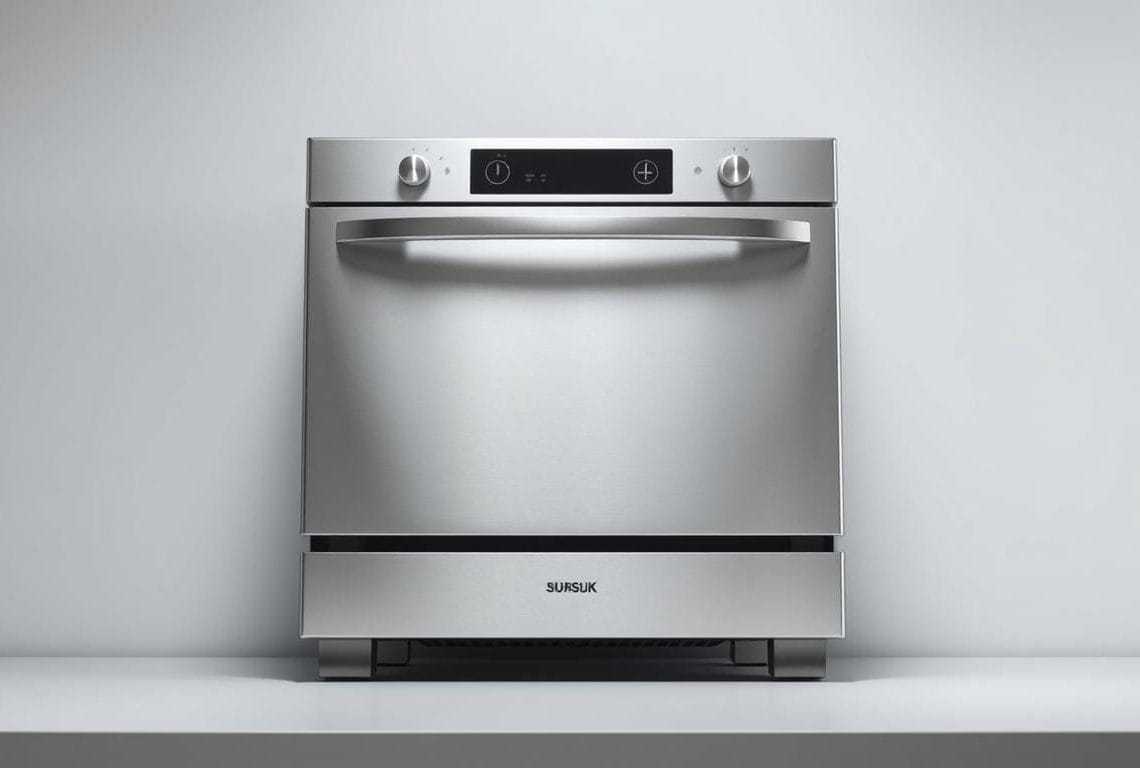
Keep tools separate: use one microfiber for washing, a second soft cloth for rinsing, and a clean microfiber cloth for drying. Separate cloths stop residue transfer and reduce scratches on steel.
- Distilled white vinegar — soak a soft cloth and apply for 5–10 minutes on hard water spots.
- Baking soda and a small bowl — mix into a paste for rust or stubborn marks; rub gently.
- Extra clean water for rinsing — prevents soap film from drying into streaks.
- Optional: handheld steamer for baked-on debris around handles and seams.
Practical tips: label bottles, avoid mixing acids with unknown residues, and lay towels under vertical panels to catch drips. Store these items in a dedicated caddy and consult cleaning cloth recommendations for the best microfiber choices.
Step-by-Step: Clean Stainless Steel for a Streak-Free Finish
A reliable sequence of mixing, wiping, rinsing, and drying delivers a uniform sheen without residue. This short routine uses a mild cleaning solution and controlled movements to protect the finish and reduce marks.
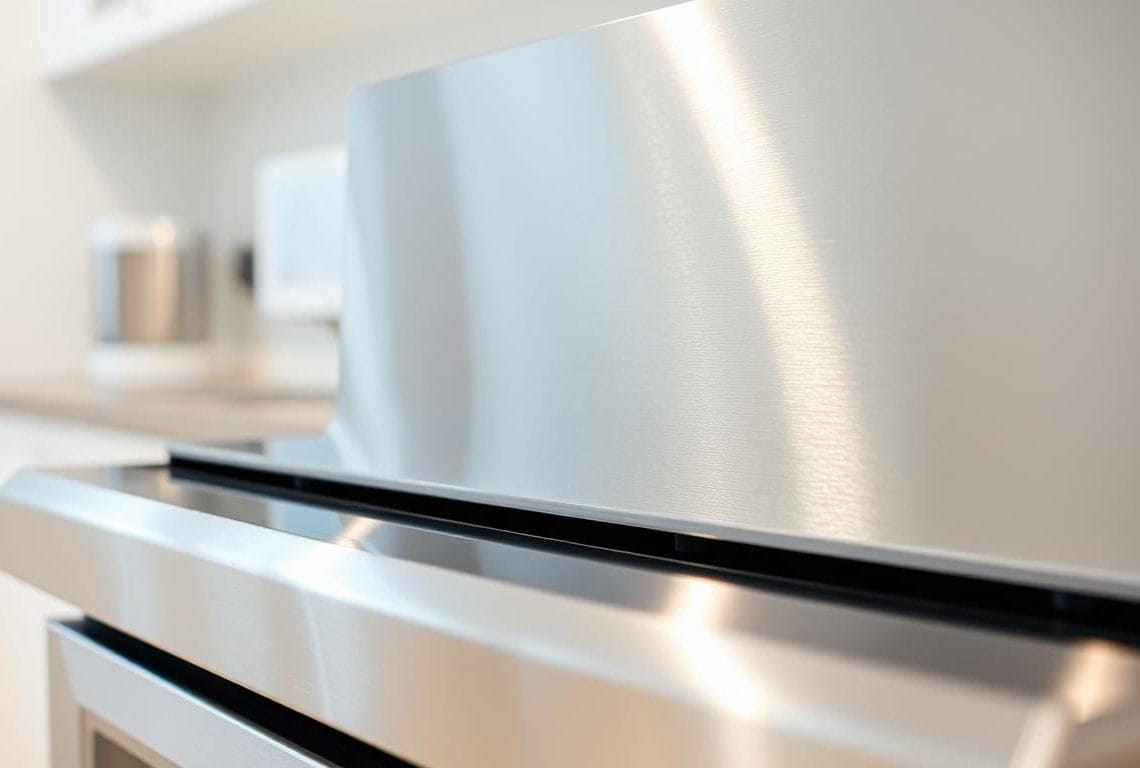
- Mix: In a spray bottle combine 1½ cups water with ½ teaspoon dish soap. This balanced cleaning solution breaks down grease on stainless steel and steel panels without harshness.
- Apply: Lightly mist the surface. Avoid soaking seams, displays, and gaskets to protect electronics and adhesives.
- Work with control: Using a flatweave microfiber cloth, follow the grain in a steady “S” pattern. This direction reduces streaks and micro-marring.
- Edge care: Re-spray the cloth as needed and treat handles and trim gently. Don’t over-wet — drips can dry into stains.
- Rinse and wipe away: Use a clean, damp microfiber to lift leftover soap film or residue so the final pass will be clear.
- Dry completely: Buff dry with a fresh microfiber cloth, paying attention to corners and trim to stop water spots before they form.
- Inspect: Tilt your view under light to find streaks; re-pass lightly with a barely damp cloth if needed.
Optional polish: If the appliance manual permits, apply a minimal, uniform polish for extra shine. Avoid oil-heavy products that attract dust or leave a tacky feel; repeat the rinse-and-dry passes if the surface feels slick.
Troubleshooting Stains: Water Spots, Grease, and Rust
Targeted fixes restore finish without aggressive products or force. This section gives safe, practical steps for common marks: chalky water spots, orange rust specks, and baked-on residue near handles and cooktops.

Water spots show as white, chalky patches. Lay a cloth soaked in distilled white vinegar on the area for 5–10 minutes to dissolve mineral buildup. Then use the mild dish soap solution, rinse with clean water, and immediately wipe away residue with a fresh microfiber. Dry along the grain.
For rust or stubborn marks, make a gentle baking soda paste (baking soda + a little water). Apply sparingly with a fingertip and follow the grain to avoid micro-marring. Rinse with the dish soap mix, then dry thoroughly.
Use a handheld steamer to loosen hardened food. Sweep steam across seams and pulls, then buff with a microfiber in an “S” pattern to capture loosened residue.
- Identify: white spots = water; orange = rust; rings = baked-on food.
- Pressure: keep touch light—use steady passes, not force.
- Spot test: check logos and coated trim before full treatment.
For more product guidance, see this short guide on clean stainless steel appliances and this discussion about Windex on stainless. Additionally, it’s important to choose the right stainless steel cleaning solutions to avoid damage to the surface. Look for products that are specifically designed for stainless steel, as they can help maintain the appliance’s shine without leaving streaks. Regular maintenance with these solutions can also prolong the lifespan of your appliances. Additionally, it’s important to know the best practices for maintaining the luster of your stainless steel surfaces. For specific advice, consider checking out our cleaning stainless steel rust tips to prevent any unsightly stains from forming. Regular upkeep can ensure your appliances stay gleaming and prolong their lifespan.
how clean stainless steel appliances with DIY and Store-Bought Cleaners
Practical recipes and select retail products let homeowners keep panels bright with minimal effort. These methods balance cost, speed, and finish protection for routine cleaning stainless steel tasks.
DIY options that work
Vinegar + oil: Wipe with distilled white vinegar on a microfiber cloth to remove spots. Finish with a few drops of olive oil on a clean cloth and buff in the direction grain for controlled shine.
Dish soap + baby oil: Wash with a mild dish soap solution, rinse, dry, then apply an ultra-thin baby-oil pass to reduce fingerprints. Buff thoroughly to avoid tackiness.
Alcohol solution: Mix water and 70% isopropyl alcohol 1:1. Spray onto a cloth and wipe with the grain—fast evaporation limits streaks.
Store-bought choices and red flags
- Use labeled products like Weiman Stainless Wipes or Bar Keeper’s Friend Stainless Steel Cleaner and Polish with a microfiber cloth.
- If manuals allow, choose ammonia-free glass cleaners and spray the cloth, not the surface.
- Avoid: chlorides/chlorine, ammonia, harsh abrasives, and oil-heavy residues that attract dust and harm the protective layer.
For a step-by-step DIY recipe, see this DIY cleaner guide.
Keep the Shine: Care Tips That Make Steel Appliances Look New
Small, consistent habits keep kitchen metal surfaces bright and durable.
Make it routine: A quick daily wipe with a barely damp microfiber cloth, then a dry pass, prevents fingerprints and light stains in a busy kitchen.
Weekly, use the mild dish soap mix, rinse, and wipe away any residue to avoid buildup. Work with the grain — short, steady strokes give a uniform finish on stainless and steel surfaces. For tougher spots, you may need to use a non-abrasive sponge to gently scrub the area without scratching the surface. When cleaning stainless steel sinks effectively, make sure to rinse thoroughly and dry with a microfiber cloth to prevent water spots. Regular maintenance will not only preserve the shine of your sink but also enhance its longevity.
Cloth discipline: Dedicate one cloth for washing and a separate drying cloth. Launder without fabric softener to keep absorbency high.
Never use steel wool or scouring pads — they scar steel and make future cleaning harder. Label bottles, store mixes safely, and use olive oil sparingly as a polish; do not rinse oil down drains.
For isolated marks, try a tiny baking soda paste, then re-clean and dry. These tips help the appliance look new and simplify home maintenance.
