Can a small spot of corrosion ruin a prized appliance or a long-serving railing? That question matters for every homeowner and metal worker who expects years of service from their equipment.
Stainless surfaces resist many threats, but they are not immune. Light tea staining and thick oxide buildup both signal problems that need prompt attention. This introduction sets clear expectations: start with the least aggressive approach, assess severity, and finish with passivation.
The guide outlines safe removal methods, matching product format to the task—sprays for broad areas, gels for welds and verticals, immersion for parts. It explains working the grain, controlling pressure, and choosing products that both remove and passivate the surface so recurrence is limited.
Quick action preserves appearance and function for years. Read on for a measured, professional workflow that applies at home and in industry—practical steps that protect appliances and equipment while reducing the risk of pitting.
Why Stainless Steel Rusts and Why Speed Matters
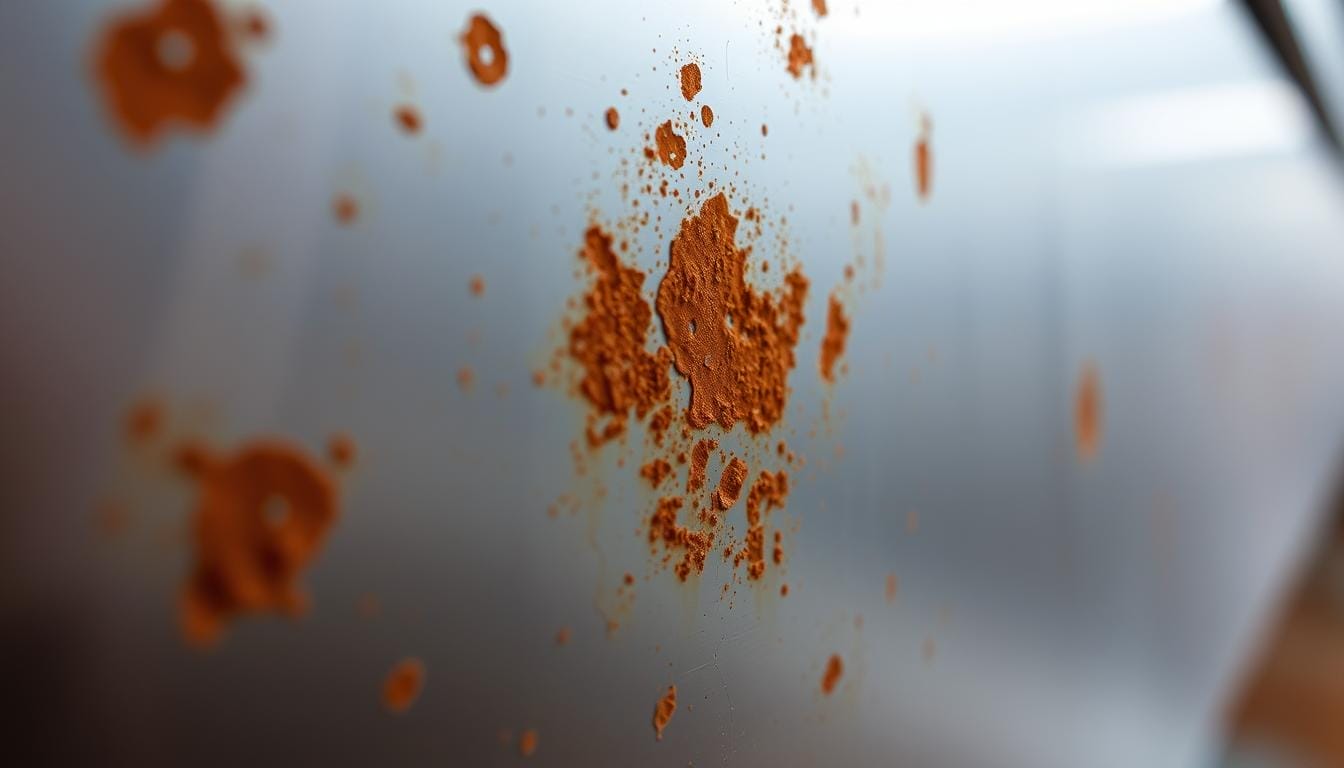
Corrosion begins when the thin chromium oxide film that protects metal is breached by foreign iron or chloride attack. Spotting may look minor, but the underlying process can accelerate if left untreated. Quick assessment guides safer, less aggressive work and better long-term results.
Common triggers and what they mean
Surface contamination: tiny iron particles transfer during fabrication or handling. That free iron interrupts the protective layer and speeds corrosion.
Weld heat zones: localized alloy changes at weld toes make those bands more vulnerable unless they are pickled and passivated after work.
Chloride exposure: muriatic fumes, bleach, pool spray, and road salt introduce aggressive ions that attack the film. Routine rinsing helps; periodic repassivation is wise.
Severity: from tea staining to pitting
- Tea staining — brown discoloration that is mostly cosmetic.
- Pitting — deep, hard-to-reach cavities that trap moisture and chemicals.
- Inspection cues — halos near welds, staining on sinks, or uniform seaside views indicate the likely cause.
Act fast: early intervention lowers the chemical strength needed and preserves finish. For professional-grade products and surface treatment advice, consider a trusted stainless steel surface cleaner.
Choose the Right Rust Removal Approach and Gear
Select methods and PPE that match the contamination level and the part geometry before any product is applied. Plan keeps work safe and limits finish changes.

Safety first
Protect people and adjacent finishes. Wear chemical-resistant gloves, eye protection, and ensure good ventilation. Mask nearby surfaces and test a small area before full application.
Try gentle chemistry first
Start with mild acids: citric acid solutions often remove corrosion and help passivate in a single step. Distilled white vinegar works for light tea staining. Baking soda paste lifts spots without aggressive action.
When to use commercial products and abrasives
Escalate if pitting or heavy staining persists. Choose a rust remover labeled safe for stainless steel surfaces. Use gels for welds and liquids for broad panels. Immersion or CIP suits parts and tanks.
- Abrasives with caution: use very fine pads, move with the grain, and apply low pressure.
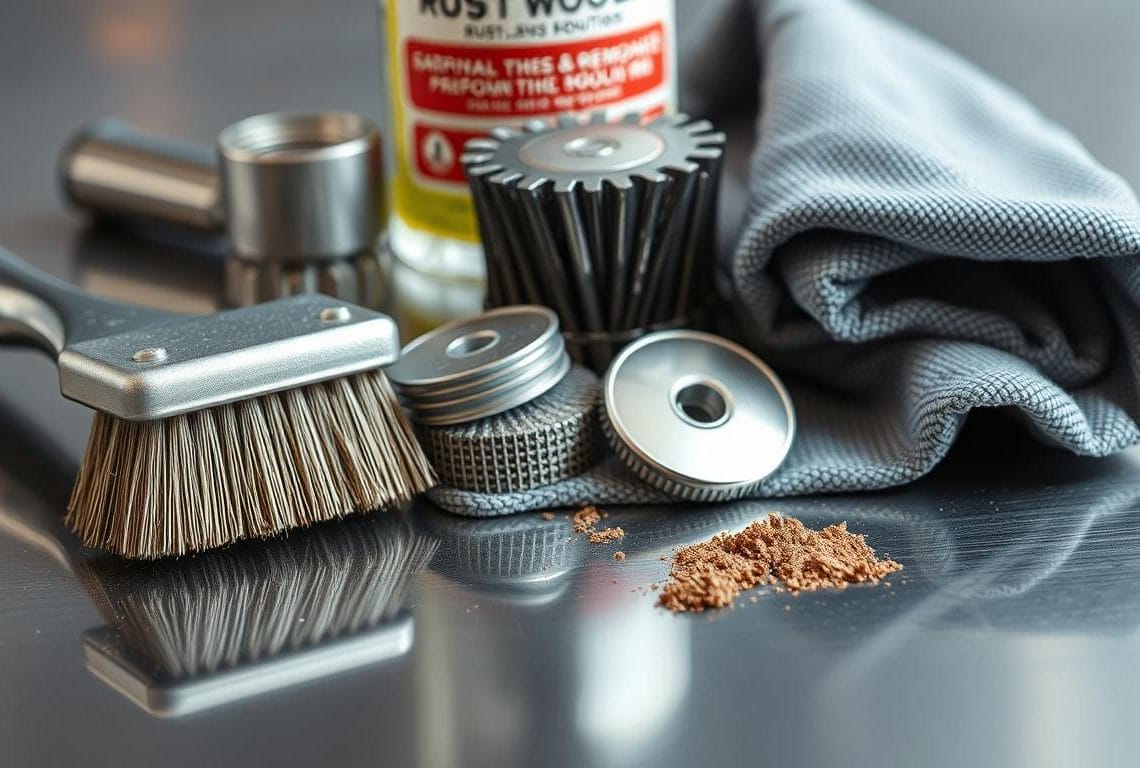
- Tool selection: use dedicated stainless brushes and tools; avoid carbon-steel wire that can transfer iron.
- Post-clean steps: rinse thoroughly, dry completely, and document product, strength, and dwell time for future reference.
How to clean stainless steel rust
An effective restoration begins with preparation: degrease the area, protect nearby finishes, and gather a soft cloth, a nylon brush, and clean water.
Citric acid passivation method: mix a citric acid solution per product instructions, apply evenly, keep the surface wet for the recommended dwell time, and work gently along the grain with a soft brush. This process removes corrosion and helps rebuild the protective layer. Rinse thoroughly when done.
White vinegar soak for light tea staining: spray undiluted distilled white vinegar on mild discoloration and allow an overnight dwell. Rinse with warm water and dry with a lint-free cloth. Repeat if faint stains remain.
Baking soda paste for spots: make a spreadable paste, apply to stains, wait 10–20 minutes, then wipe and buff lightly with the grain. Avoid aggressive pads that alter the finish. Rinse and dry to remove residues.

Targeted gel or liquid removers: use a product formulated for metal surfaces on stubborn marks. Apply gel on welds or vertical areas, observe the specified dwell time, then rinse well. Gels cling; liquids cover broad panels.
- Final rinse and dry: flush until runoff is clear, then dry completely with clean towels or warm air.
- Re-passivation: focus on weld beads, fastener recesses, and pitted zones—reapply citric passivation where needed to rebuild the passive film.
- Optional protection: after full drying, apply a compatible agent that wicks into pits; use food-contact-safe products for sinks and prep equipment.
For professional-grade removers and further product guidance, consider a reliable rust cleaner for metal surfaces like this stainless steel rust cleaner.
Special Situations and Pro Techniques
When surfaces are complex—weld toes, uprights, or long piping—select chemistries that stay put and tools that follow the grain. This prevents finish damage and speeds reliable restoration.

Targeted work at welds and vertical exteriors
Gel citric formulations cling to weld beads and pipe exteriors, holding active chemistry on steep planes. Let the gel dwell the full time and agitate gently with a nylon brush along the grain.
Food-contact areas and visible appliances
Use cleaners and passivators labeled for food contact on prep tables, sinks, and appliances. Rinse thoroughly and dry completely—moisture left in crevices seeds future stains.
Large jobs, immersion, and CIP systems
For racks of parts, immersion baths give uniform results. For tanks and piping, use CIP circulation with the correct solution concentration and monitored flow time. Confirm compatibility with seals and gaskets first.
- Abrasive touch-ups: blend with fine nonwoven pads, move with the grain, and remove residue particles to avoid new corrosion sites.
- Protective aftercare: once dry, apply a compatible protector in pits and crevices—choose food-grade variants where contact matters.
- QA and safety: select NSF-listed pickling/passivation where required, record solution strength and dwell time, and neutralize spent chemicals responsibly.
For professional maintenance and care, review product guidance at maintenance and care.
Keep Stainless Steel Rust‑Free for Years
Consistent care protects finishes and limits corrosion. Wipe sinks and appliances dry after use. Small, regular steps remove salts and moisture before they cause stains or pits.
Schedule periodic citric passivation in harsh environments—marine, pool, or winter road exposure. Choose non-chlorinated products and food-contact variants after full drying. Avoid bleach-based cleaners that attack the protective layer.
Use dedicated non-carbon tools to prevent iron contamination. Treat spots quickly with mild acid or a baking-soda paste and rinse. For industrial work, consider CIP or commercial solutions and log exposure time for each part.


