Can a simple choice in sink material cut your cleaning time and last decades? This guide answers that question and helps buyers pick a durable option that fits daily life.
Stainless steel for sinks leads the market with proven durability and hygiene. It resists heat, acids, and stains while offering a satin finish that hides light wear.
Readers will learn what separates premium options—gauge, alloy grade, bowl depth, and sound-dampening—from average models. These features shape usability and long-term value in any kitchen.
The section previews installation choices: undermount for a seamless look with stone counters, or drop-in for easier retrofits and faster replacement.
Expect practical tips: how proper insulation reduces noise, simple maintenance to preserve finish, and which certifications and drain sizes signal quality and compatibility with disposals.
Why stainless steel sinks dominate modern kitchens
When kitchen traffic is high, few materials match the resilience and easy upkeep of this choice. Homeowners and professionals pick it for simple care, lasting looks, and reliable performance.
Durability and daily use in busy homes
Non-porous surfaces keep dirt and bacteria at bay. That makes cleaning faster after family meals and heavy prep.
Heat, stain, and acid resistance in real-world cooking
Hot pots, boiling water, and acidic foods rarely leave lasting marks. Common spills—coffee grounds, tomato sauce, or wine—wipe away without deep staining.
- Fewer replacements over years —lower lifetime cost and steady performance.
- Forgiving to daily impact —drops and scrapes show less damage than on porous materials.
- Available in many sizes —from compact condo bowls to large prep stations.
Which matters most? For busy homes, the blend of low maintenance and proven durability keeps this option at the top of remodel lists.
stainless steel for sinks: what to look for before you buy
A smart purchase starts by matching thickness, alloy, and layout to daily tasks in the kitchen. Small choices now change how the sink performs under heavy use and over time.

Gauge basics and dent resistance
Prioritize 16–18 gauge: lower gauge equals thicker metal and better dent resistance.
Typical thicknesses help compare: 16 ga (0.0625″), 18 ga (0.055″), 20 ga (0.05″).
Grade matters
T-304 (18/8) suits most homes: good corrosion resistance and value.
316 (18/10) adds nickel and better corrosion protection, but at a premium — consider it in harsh or coastal environments.
Bowl depth, finish, and sound
Choose a bowl depth near or above 10 inches to fit pans and cut splashback.
Satin or brushed finish hides scratches and water spots better than mirror-polish.
Insulation and underside treatment
Sound depends more on pads and undercoats than on gauge alone. Inspect the underside: full-coverage rubber pads and quality undercoats cut noise and reduce cabinet condensation.
- Priority: 16–18 gauge for durability and feel.
- Grade choice: 304 for most buyers, 316 for wetter environments.
- Accessories: verify drain size and include rinse grids or strainers to protect the bowl and finish.
Understanding gauge stainless steel and quality
Gauge impacts durability, feel, and perceived quality. Lower gauge numbers mean thicker metal: 16 ga is about 0.0625″, while 18 ga is about 0.055″. Thicker material resists dents and keeps edges crisp when heavy cookware is set down.
How thickness affects durability and feel:
- Thicker bowls resist deformation — pans land without leaving a lasting dip.
- Heftier material feels solid at the countertop interface and reduces flex.
- Thicker gauge absorbs vibrations, cutting that hollow ring that signals lower quality.
Sound performance, echo, and real-world testing:
Tests show that within common residential ranges (18–23 ga), gauge has limited impact on noise. Sound-deadening pads and undercoatings drive real-world quietness more than small changes in thickness.
Practical buying tips: a 16 gauge unit can be worth it in high-traffic kitchens; 18 gauge gives strong value when paired with full-coverage damping. Inspect spec sheets for pad coverage and coating density — manufacturing quality complements gauge to deliver performance that lasts years.
Stainless steel grades explained for kitchen sinks
Metal composition is the hidden factor that decides how well a sink resists rust and holds its shine.
Chromium and nickel play distinct roles: chromium forms a thin, passive oxide layer that prevents rust. Nickel stabilizes the alloy structure and improves resistance to pitting and corrosion.
Common household grades:
- 18/8 (304) — contains about 18% chromium and 8% nickel. It is highly rust-resistant, cost-effective, and the go-to choice in most homes.
- 18/10 (316) — lists 18% chromium and 10% nickel. This grade offers better corrosion resistance and keeps a brighter polish longer; expect a higher price.
Consider 316 in coastal settings, homes with high-chloride water, or where frequent contact with salty brines and harsh cleaners occurs. For typical kitchen use, 304 balances performance and price and is easy to maintain.
Buying tip: always verify grade labeling on spec sheets. Higher nickel content usually means higher cost but improved long-term finish and fewer issues over the years.
Undermount vs drop-in: which installation suits your countertop
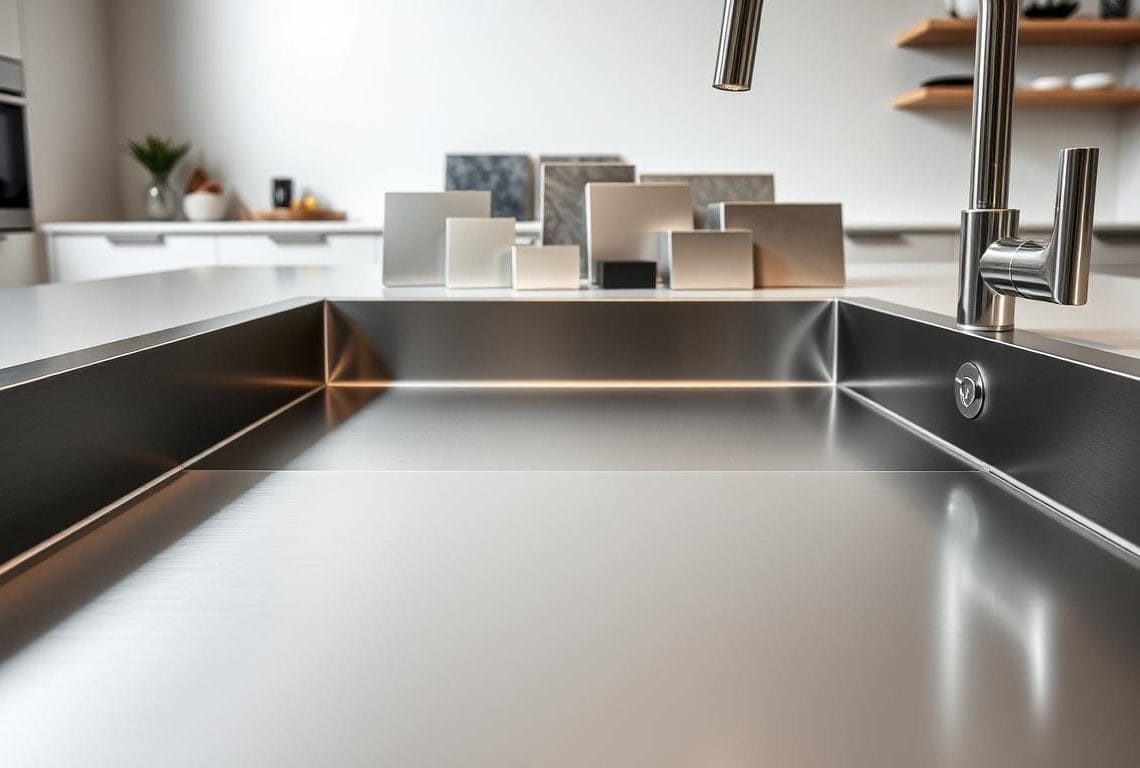
Installation type—undermount or drop-in—shapes cleanup, countertop choice, and long-term performance. Homeowners should weigh appearance, support needs, and retrofit ease before ordering hardware.
Seamless look with stone, quartz, and solid surfaces
Design and edge treatment
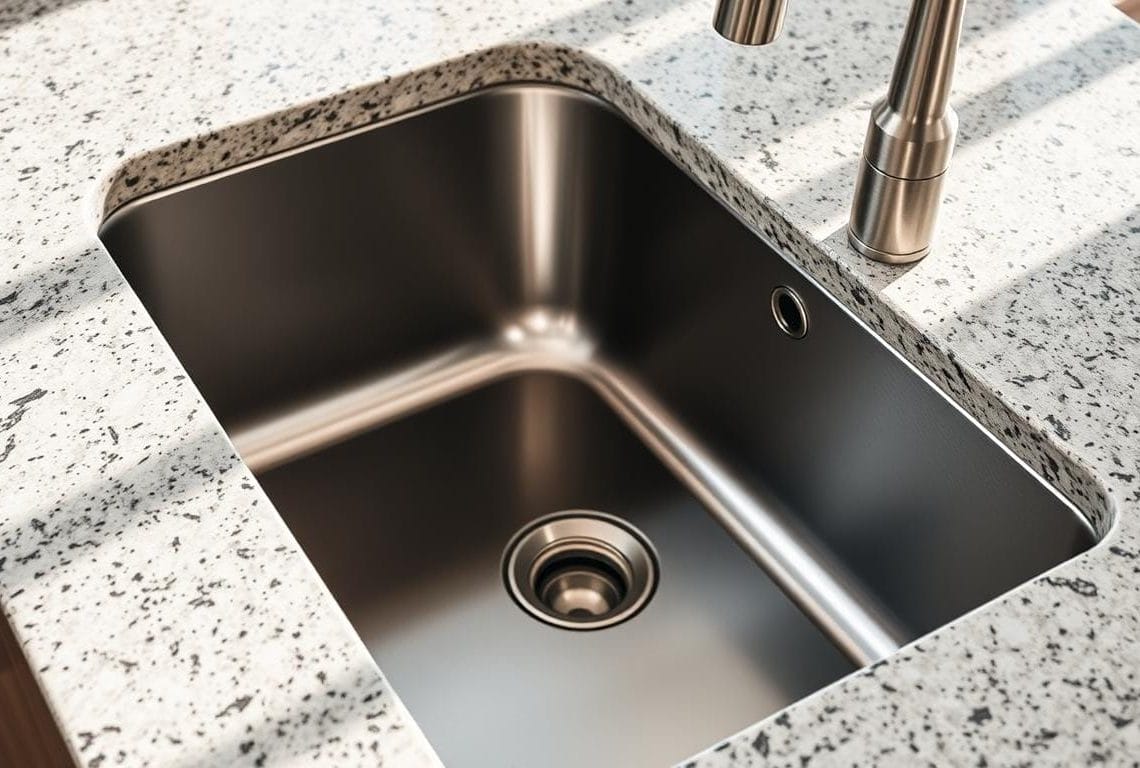
Undermount mounting creates a clean edge that improves daily cleanup and gives a modern look. It pairs best with granite, quartz, and other solid surfaces.
Ease of installation and retrofit considerations
Drop-in models simplify retrofits and protect laminate edges. Many include cutout templates and mounting clips to speed installation.
- Seamless cleanup: undermount wins for wiping crumbs straight into the basin.
- Support and sealing: undermounts need rails, quality adhesives, and proper caulk to prevent leaks.
- Countertop compatibility: choose drop-in with laminate; select undermount for quartz or stone.
- Practical checks: existing cutouts, plumbing locations, and faucet-hole patterns often decide final choice.
- Verify hardware: confirm included mounting clips, rails, and templates to reduce installation time and meet code.
Recommendation: if a seamless stainless steel kitchen look matters and the countertop allows it, plan an undermount install and confirm support details before purchase.
Single, double, and workstation bowls: choosing the right configuration
Choose a bowl layout that matches daily tasks—washing sheet pans, rinsing produce, or staging prep tools.
One large basin for sheet pans and stock pots
One large bowl makes sliding trays and tall stock pots easier. Deep basins reduce splash and free hands during scrubbing.
For oversized trays, consider a dedicated large option like a large stainless steel sink.
Split bowls: 50/50, 60/40, and asymmetric layouts
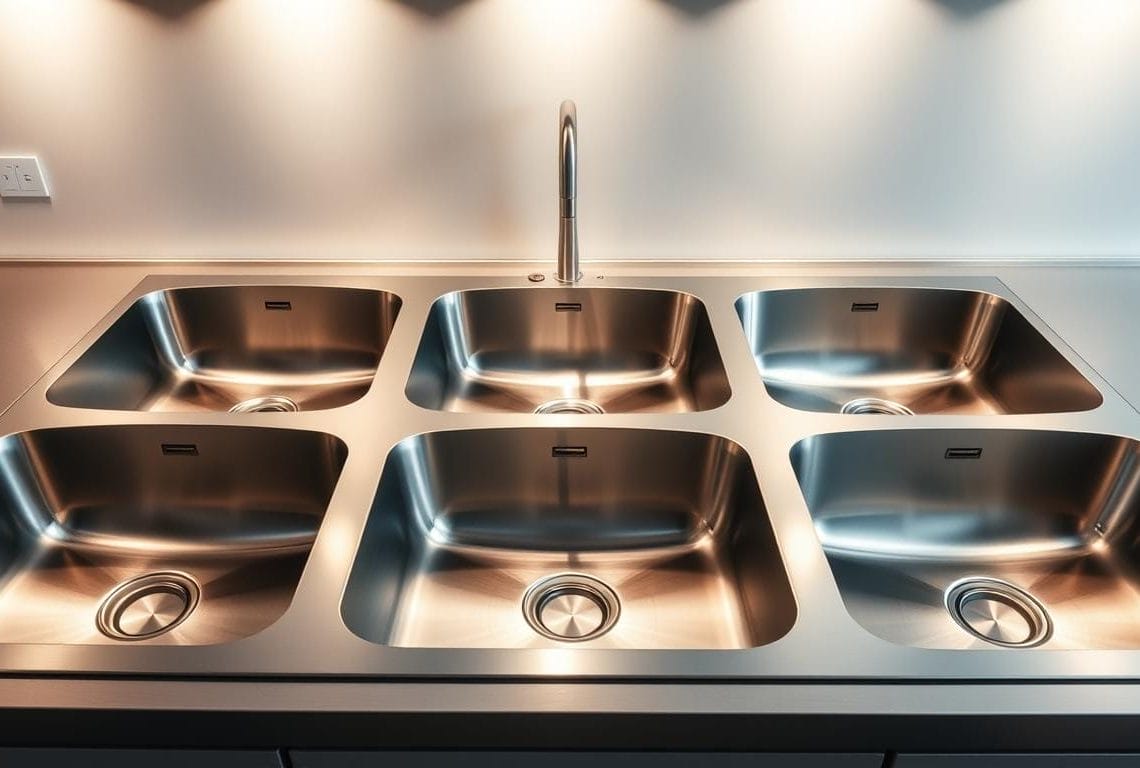
Split bowls let two tasks run simultaneously. A 50/50 layout suits multitasking: equal space for washing and rinsing.
Choose 60/40 when one side must dominate—use the larger side for pots and the smaller for prep. Asymmetric designs place a shallow prep bowl beside a deep wash area for specialty workflows.
Integrated ledges and workstation functionality
Workstation sinks add ledges and accessories like cutting boards and colanders. These built-in supports extend counter space and speed up prep in tight kitchens.
Measure pans, trays, and commonly used cookware before choosing. Depth should prevent splash while keeping ergonomics—aim for 9–10 inches for frequent cookware washing.
Farmhouse, apron-front, and bar sinks in stainless steel
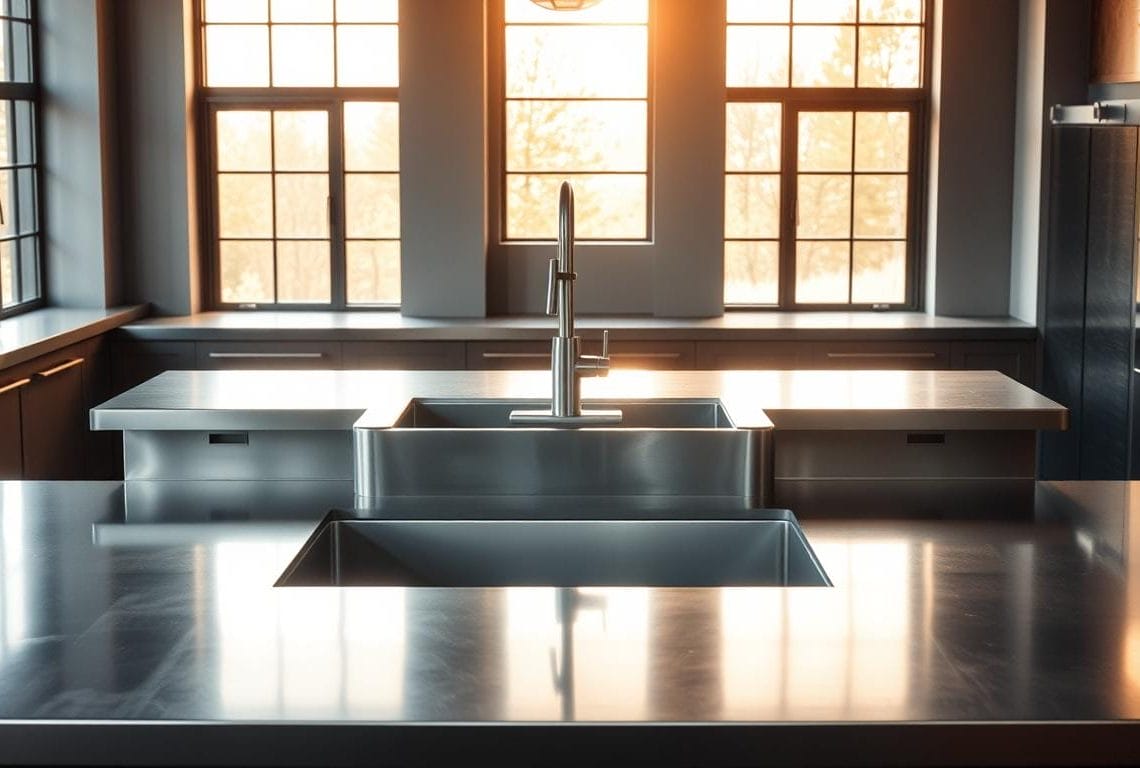
An apron-front basin makes an immediate visual statement — it merges professional utility with crafted warmth. The exposed face bridges a commercial look with homey presence. It anchors an upscale kitchen and becomes a focal point near ranges and islands.
Design impact of an exposed apron
The apron-front visually extends the counter plane and reads like furniture. Designers use it to create a strong, intentional design cue that pairs well with open shelving and visible hardware.
Functional depth and reach
Deep bowls and forward reach reduce splash and make lifting heavy pots easier. The extra front lip supports ergonomic loading and keeps counters cleaner during big meals.
Space-saving bar and prep options
Bar basins add prep capacity without replacing a main basin. They work well in islands, pantries, and beverage stations — clearing the primary basin during entertaining.
- Installation notes: apron-fronts need modified cabinets or purpose-built bases.
- Bar sink placement: flexible — islands, wet bars, or secondary prep zones.
- Finish pairing: match adjacent appliances and hardware to keep a cohesive look.
Corners, curves, and cleaning: design details that matter
Corner shape plays a quiet but powerful role in daily cleaning and long-term appearance.
Tight-radius vs rounded corners
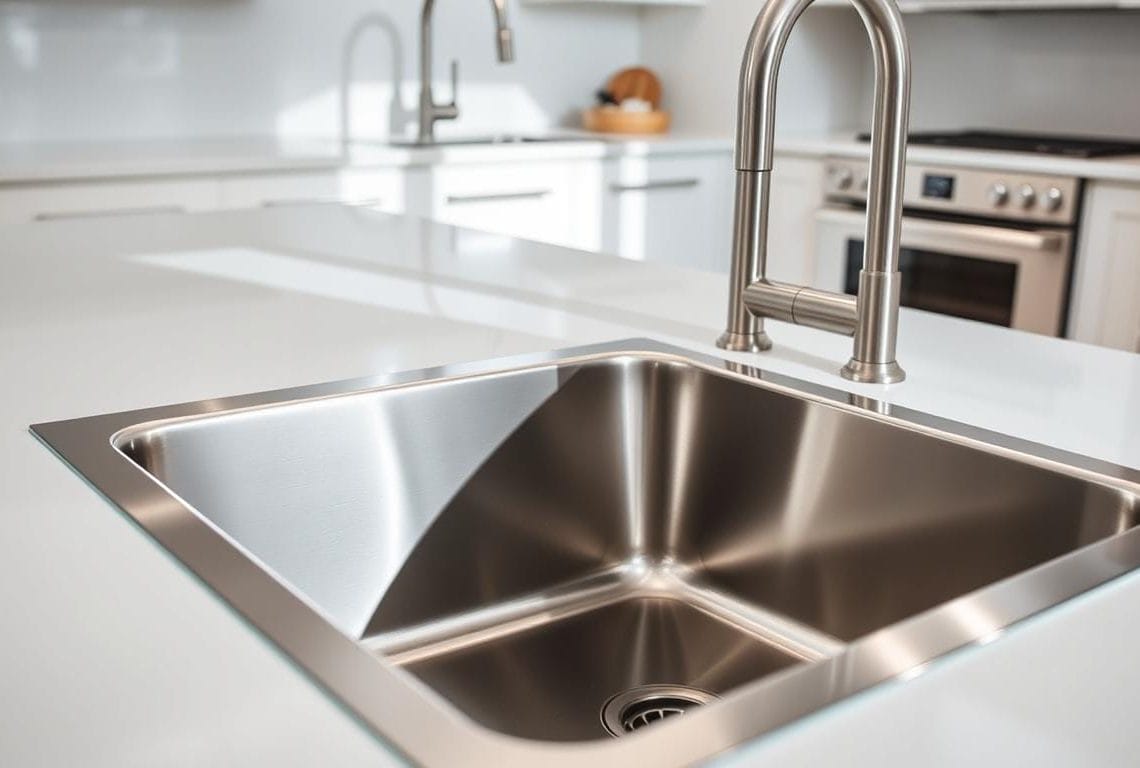
Tight-radius corners deliver a crisp, architectural look and maximize flat usable area. They suit modern kitchens that favor sharp lines.
Rounded corners speed cleaning. A gentle curve reduces grime traps and makes sponge access easier.
How geometry affects upkeep
Corner geometry changes where residue collects and how easily it is removed. Sharp angles hide crumbs and soap scum; curves let water flow to the drain.
- Access: rounded corners improve sponge reach and speed rinsing.
- Appearance: tight radii keep a refined look but need more frequent detail cleaning.
- Capacity: well-designed curves keep generous bowl volume with smooth transitions.
Buyer advice: inspect corner radii and weld quality in person. Balance the desired look with daily maintenance needs to choose a sink that fits real kitchen life.
Finish and look: brushed, satin, and colored stainless options
Selecting the right finish changes both the visual tone and upkeep demands of a modern kitchen. A muted surface can hide wear. A polished face reads as bright but shows every drip.

Matching appliances and minimizing water spots
Brushed and satin textures mute fine scratches and fingerprints. They match many contemporary appliances and simplify daily care.
In hard-water areas, finish choice controls how visible mineral marks and water spots become. Wiping a damp bowl daily reduces buildup and keeps the look uniform.
Black, brass, and copper-look finishes in contemporary design
Colored stainless finishes—black, brass, and copper-look—offer contrast without sacrificing durability. Choose factory-applied, commercial-grade coatings to avoid peeling and uneven sheen.
- Compare brushed vs satin: both hide light wear and align with modern appliance textures.
- Finish selection affects visibility of water spots and streaks.
- Coordinate faucet, hardware, and nearby appliances to keep a cohesive design field.
- Prefer factory-applied coatings that resist wear over time.
Sound, condensation, and insulation technologies
Effective vibration control and moisture management preserve both quiet and quality in active kitchens.
Rubber padding, undercoatings, and quieter dishwashing
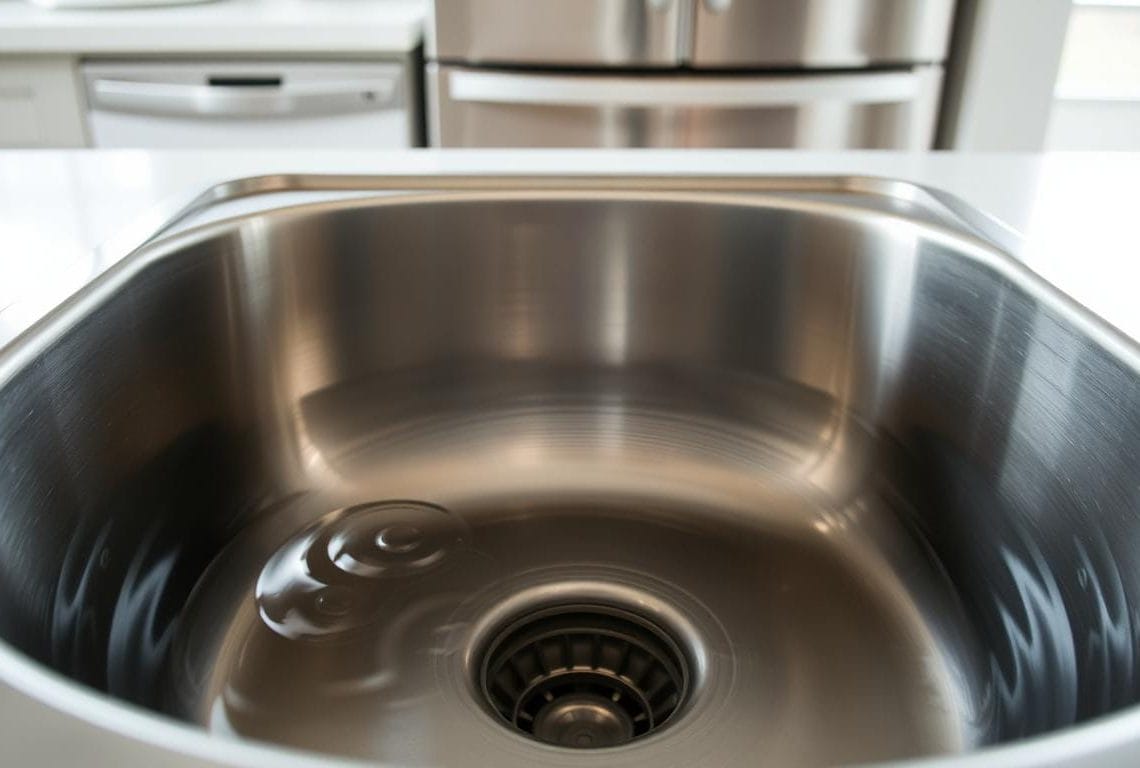
Dense rubber pads interrupt vibration at the metal surface. That reduces clatter when utensils drop and cuts noise from the disposal.
Look for full-coverage pads instead of small patches. Full coverage spreads energy and prevents sharp ringing under impact.
Reducing moisture under the cabinet
Sound-proof undercoatings also act as a moisture barrier. A thick coating lowers condensation, keeping the cabinet dry and extending cabinet life.
Check product specs: verify coating thickness and pad coverage in the technical sheet before you buy.
- Vibration control: dense pads minimize clatter and preserve a calm room ambiance.
- Moisture protection: undercoatings reduce sweat and mold risk under the bowl.
- Accessory pairing: use a rinse grid to cushion impacts and protect the basin base.
These treatments offer a disproportionate benefit in open-concept layouts where sound carries. For more on choosing a stainless steel kitchen sink, review pad and coating specs to match expected kitchen use.
Installation essentials for stainless steel kitchen sinks
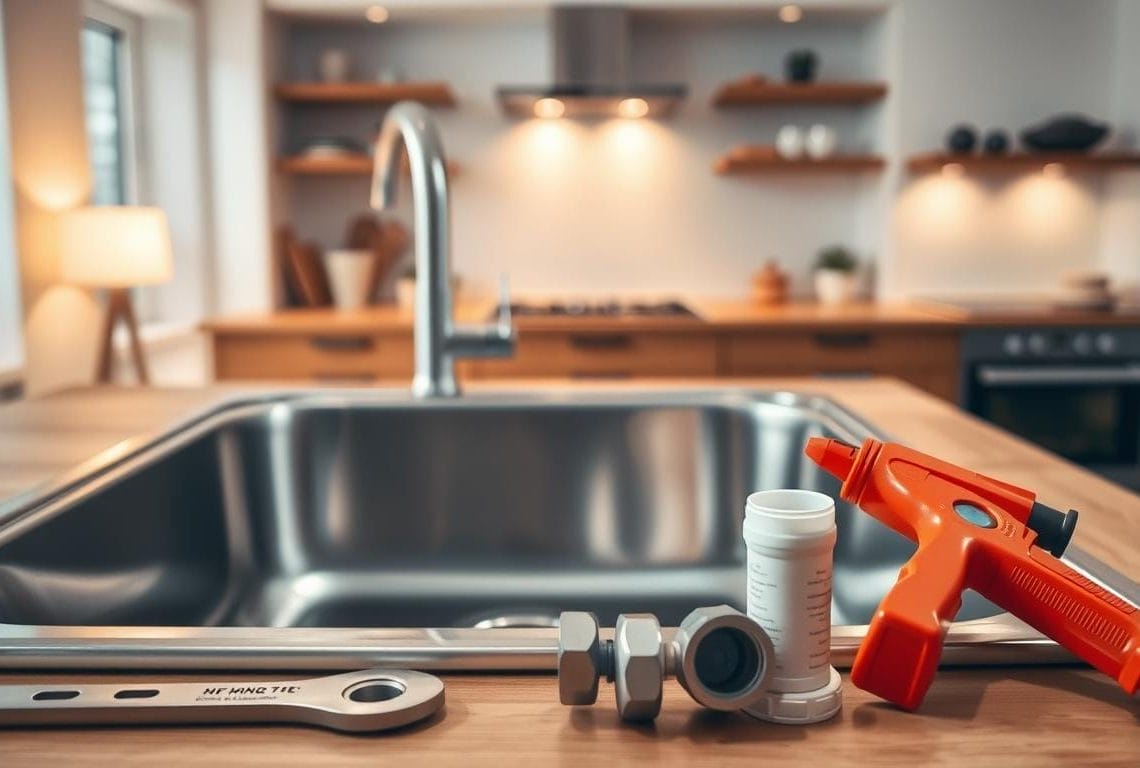
Proper preparation—templates, bracket layout, and hole placement—prevents costly rework during install. Many units ship with cutout templates and mounting clips that speed a clean fit.
Templates, mounting clips, and cutouts
Verify the box contents before you begin: a cutout template, mounting brackets or clips, a basket strainer, and any gaskets should be present. These items help achieve a precise, secure install.
3.5-inch drain compatibility with garbage disposals
Confirm the drain opening is the standard 3.5-inch size. This size fits most garbage disposals without adapters and saves time during rough‑in.
UPC/cUPC certifications and meeting US plumbing codes
Check for UPC or cUPC listing and IAPMO certification to ensure the unit meets US and Canadian plumbing standards. Certified parts ease inspections and reduce code issues.
- Dry‑fit the template and confirm faucet and accessory holes.
- Trace and cut the countertop cleanly—avoid margin gaps.
- Seal edges, set the basin, and torque clips evenly to prevent stress points.
Tip: coordinate faucet locations and disposal positioning before cutting to avoid rework and speed final assembly. Proper prep leads to a reliable undermount installation in any modern kitchen sink project.
Maintenance tips: protect the finish for years
Routine attention — small actions taken each day — preserves appearance and performance over many years. A quick rinse and dry stops mineral films. Regular care keeps a stainless steel basin looking its best and reduces long-term repairs.
Non-porous cleaning routines that prevent buildup
Rinse daily with warm water and a drop of mild dish soap. Wipe dry with a microfiber cloth to cut water spots and streaks.
For deeper cleaning, make a paste of baking soda and water. Use a soft sponge and rub with the grain. Rinse thoroughly and dry.
Avoiding abrasives, bleach, and harsh chemicals
Do not use steel wool, scouring powders, or bleach. These abrasives can scratch the chromium oxide layer and dull the finish. Even small scratches invite stains and premature wear.
- Establish a simple routine: rinse, mild soap, dry.
- Use baking soda and a soft sponge for periodic deep cleans.
- Buff light marks with a microfiber cloth to restore sheen.
- Rinse acidic spills (coffee, tomato, citrus) immediately.
For product options and gentle cleaners, see the best stainless steel sink cleaner guide to match cleaning agents with your daily habits.
Dealing with scratches and keeping the surface pristine
Light abrasions will appear over time; the right finish and routine care keep them subtle. Small marks are normal and often only cosmetic.
Using satin and brushed surfaces to mask wear
Satin and brushed surfaces hide fine scuffs better than mirror-polish. Those textures break light and reduce contrast, making hairline scratches less visible.
Normalize light marks: they show active use, not decline. Choose a textured face when appearance under daily use matters most.
Simple buffing to minimize light marks
Follow this gentle method after cleaning:
- Wash and dry the basin thoroughly.
- Apply a single drop of olive oil to a soft cloth.
- Buff along the grain with steady pressure until marks soften.
Practical precautions: add a bottom rinse grid to keep cookware off the basin floor. Move heavy pots with care and never cut directly on the surface to avoid gouges.
Re-buff periodically — light passes keep a uniform look. Avoid aggressive polishing that can create uneven sheen and scratch patterns.
Value, warranty, and longevity: what defines quality
Quality and warranty details often reveal more about long-term value than the sticker price. A clear warranty and robust materials signal manufacturer confidence and predict real-world performance in a busy kitchen.
Warranty signals and recycled content
Limited lifetime warranties are common and worth scrutiny. Check what the warranty covers: corrosion, finish, and manufacturing defects. Confirm whether coverage is transferable to a new owner.
Some makers use recycled material in the build. Using recycled steel can reduce environmental impact while keeping high quality and durability.
Total cost of ownership vs low upfront price
Low purchase price can hide higher lifetime costs: dents, noise, staining, and early replacement add up. Evaluate the whole package: alloy grade, gauge, finish, sound treatment, and warranty length.
- Inspect warranty terms: coverage, exclusions, and transferability.
- Weigh cradle-to-grave cost: repairs, replacements, and maintenance over years.
- Prefer recycled content: it aligns durability with sustainability.
With simple care, a premium sink delivers decades of service in the home and keeps resale value steady.
Notable collections and options to explore
Explore standout collections that blend professional-grade construction with homeowner-friendly features. These lines make it easy to match function to design and to pick an install option that suits the countertop and workflow.
Ruvati Parmi — a practical benchmark
Ruvati Parmi uses premium 16-gauge T-304 with a commercial brushed finish that resists light scratches. Rounded corners make cleaning faster and reduce grime traps.
Included accessories—a heavy-duty rinse grid and basket strainer—protect the basin floor and simplify daily care. The 3.5″ drain is disposal-compatible and ready for standard hookups.
Undermount utility and workstation setups
Undermount workstation designs add ledges and accessory supports that expand prep area without extra counter clutter. Packages often include cutout templates and mounting clips to speed professional or DIY installs.
Dense rubber padding and a sound-proof coating keep operation quiet and reduce cabinet condensation during heavy use.
Apron and farmhouse designs for upscale kitchens
For elevated projects, apron-front and farmhouse options offer a bold visual statement while keeping commercial-grade performance. Ruvati’s other collections—Roma, Nesta, and Gravena—cover varied sizes and styles to fit many plans.
- Install choices: drop-in and undermount options available.
- Quiet operation: full-pad damping and thick undercoats.
- Package readiness: templates, clips, and strainers included to reduce install time.
Your next steps to the right stainless steel kitchen sink
Begin with a short checklist: pick an installation type (undermount or drop-in), choose a bowl layout, set a depth target, and select a finish that matches nearby appliances.
Verify key specs: 16–18 gauge and 304 or 316 grade, full-coverage sound pads, and thick undercoatings for quieter performance and less condensation.
Check practicals: confirm a 3.5-inch drain, included template and mounting clips, UPC/cUPC certification, and compatibility with disposals and faucets.
Set a maintenance plan: mild daily cleaning, avoid harsh abrasives, and add a rinse grid to protect the basin base and preserve long-term functionality.
Shortlist reputable collections with solid warranties and proven accessories to ensure the purchase adds value to the home and boosts kitchen performance and options.


