Can a trusted kitchen finish lose its shine after everyday use?
I trust this material for sinks, appliances, and fixtures because of its proven durability and corrosion resistance. Still, I keep expectations realistic: the chromium oxide layer protects, but marks from utensils and keys show up over time.
I focus on why polished surfaces show scratches more than brushed or textured ones. I also note where wear appears fastest: handles, basins, and prep zones that get the most contact.
In this short guide I will share what I do to prevent visible marks, the simple cleaners and soft cloths I trust, and when I move to polish or compounds for deeper blemishes. My goal is not perfection but keeping finishes uniform and attractive through low-risk, repeatable methods.
What I’ve learned about stainless steel, scratches, and why they happen
I’ve learned the alloy’s chemistry matters as much as everyday habits when it comes to surface wear. The base mix—iron, chromium, nickel, and other metals—forms a thin oxide layer that fights corrosion. That film protects against rust but still lets sharp or gritty contact leave fine lines.
Alloy basics and the protective film
The chromium in the alloy creates that passive oxide layer. It keeps metals from corroding, but it’s not rock hard. Mechanical marking from contact will alter the finish before corrosion begins.
Polished versus brushed finishes
Polished, mirror-like finishes show even faint hairlines. Brushed or textured surfaces hide minor marks by blending them along the existing grain. I find working with the grain hides most small blemishes.
Daily causes: grit, tools, and water minerals
Micro-abrasives—scouring pads, gritty dust, and mineral deposits from water—act like sand. Dragging them across a surface creates visible trails. In my home, sliding pots and rough sponges are common culprits.
- I rinse to remove grit first.
- I clean gently with a soft cloth and warm soapy water.
- I always wipe in the direction of the grain to minimize new marks.
For more on corrosion and related care, see my brief guide on can stainless steel rust. Next, I’ll answer whether this material will actually scratch under normal use and which factors matter most. When considering the durability of stainless steel, it’s essential to understand the conditions that can affect its integrity. Many people wonder, “does stainless steel corrode,” particularly in environments exposed to moisture and chemicals. Proper maintenance and care can significantly minimize the risk of corrosion and scratches, ensuring the longevity of your stainless steel products.
does stainless steel scratch easily
My short answer: the material is tough, but it is not impervious to cosmetic marks. Minor abrasions form when grit, sharp edges, or cross-grain wiping meet a smooth surface.
My short answer and the key factors that make scratches more or less likely
Big variables are finish type, cleaning pressure, whether you wipe with the grain, and how often the area is touched. Polished doors show the most lines; brushed panels hide tiny marks by following the texture.
The good news is that smart habits greatly reduce visible marks on appliances and fixtures. I rinse to remove grit first, then use a microfiber cloth and work in the proper direction.
- Avoid abrasive pads and rough sponges.
- Remove grit before wiping to protect the surface.
- Don’t scrub harder when a light method will do the job.
Durability for the metal overall is strong; the issue is managing the cosmetic finish over time. My next sections cover prevention and step-by-step methods I use at home for different appliances and sinks. For a related comparison, see easy-care vs stainless steel.
How I prevent scratches on stainless steel surfaces and appliances
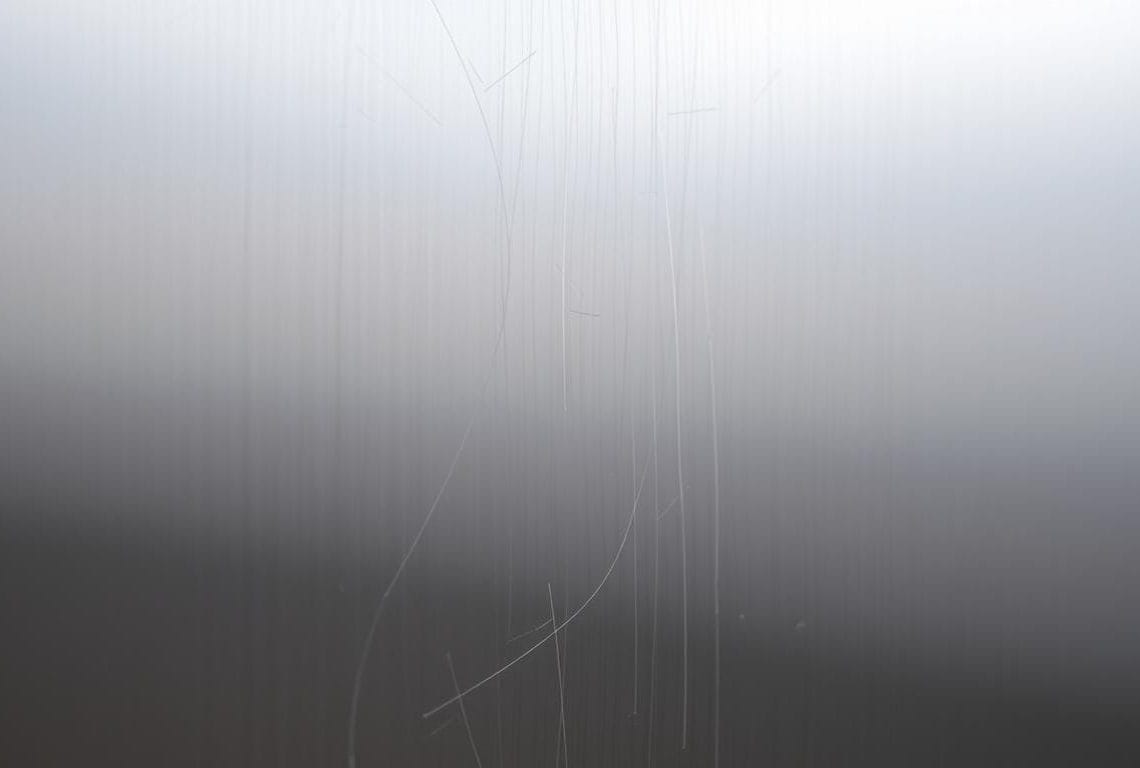
I keep a simple care routine that prevents most cosmetic damage to my appliance finishes. Small steps reduce long-term wear and keep finishes uniform across the kitchen and utility areas.
My cleaning routine
Warm soapy water, a microfiber cloth, and working with the grain
I rinse first to remove grit, then wipe with warm soapy water and a soft microfiber cloth. I always follow the grain so any fine lines blend with the existing finish.
Cleaners and tools I avoid
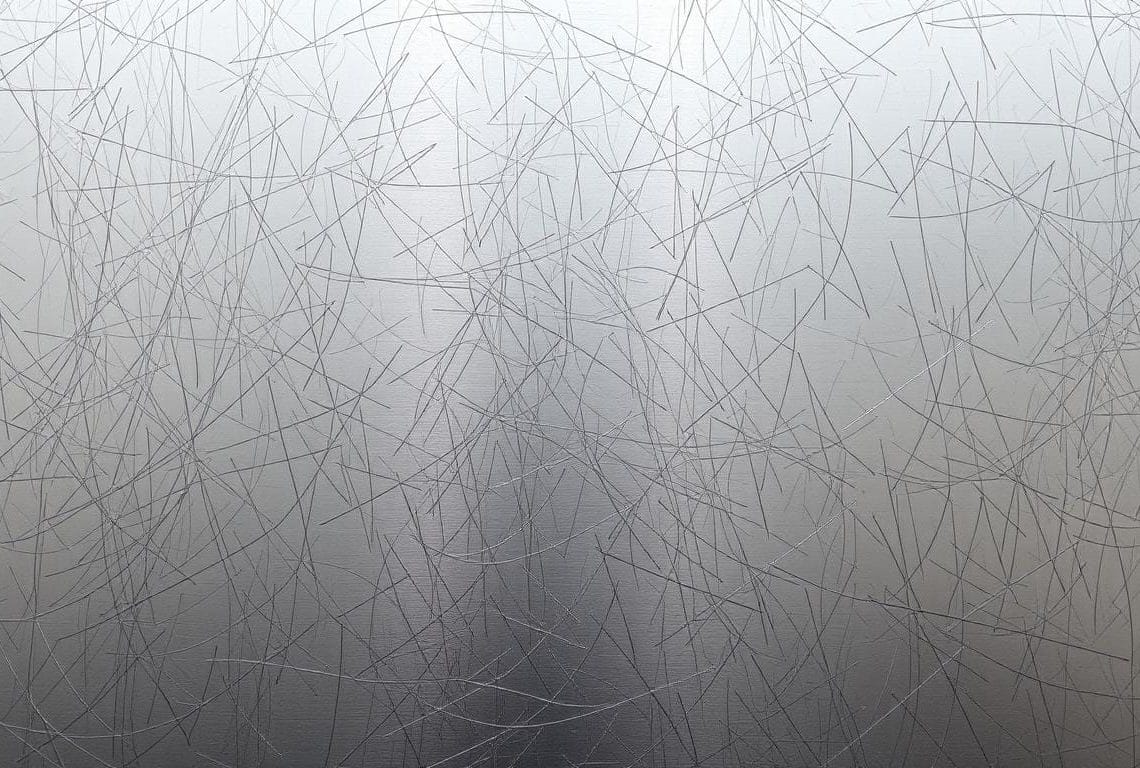
I skip abrasive pads and harsh chemical products. They leave tiny micro-marks that build into a hazy patch over time.
Practical kitchen habits
I swapped metal spatulas and whisks for silicone or wood to limit fresh marks on sinks and appliance fronts. I also use silicone mats where pots are set down.
Extra protection for high-traffic areas
- I use low-profile protective films on sink basins and handle zones.
- I keep a dedicated, clean cloth for these surfaces to avoid dragging grit around.
- I spot-dry after cleaning so mineral deposits in water won’t act as abrasives later.
These small, consistent steps are my top tips for preventing visible scratches and keeping metal surfaces looking their best at home.
My step-by-step methods for removing scratches from stainless steel
My approach is gradual: simple household mixes first, then dedicated products if needed. I always test a small, hidden spot before treating the visible area.
Light marks: baking soda paste and a soft cloth
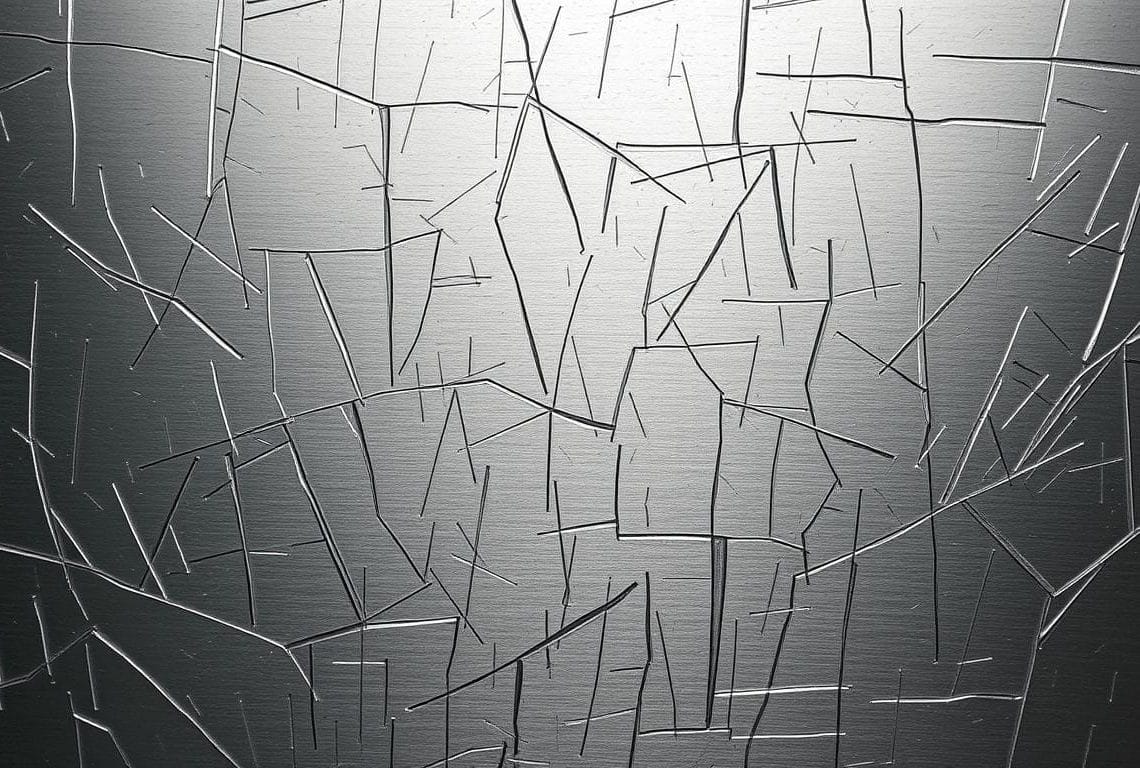
For light blemishes I make a paste with baking soda and water. I apply it gently, rubbing in the direction of the grain with a soft microfiber cloth.
Then I rinse and dry to check progress. This method removes many minor lines without aggressive products or tools.
Using scratch removers and metal polishes correctly
When a light paste is not enough, I choose a stainless-safe cleaner or a dedicated scratch remover. I follow the product directions, allow dwell time, then buff with even strokes.
I avoid cross-grain swirls and wipe residue between passes so I can see true results. For a trusted option I refer to a recommended stainless steel scratch remover.
Deeper scratches: fine-grit wet sandpaper and careful buffing
For deeper lines I use wet sandpaper in the 400–600 range. I keep both paper and surface wet and sand lightly, always with the grain.
After sanding I clean the area and apply a metal polish to even out the luster. I work in short sessions and check progress often to avoid overworking the surface.
When I choose a kit or call a professional
For sinks or panels with many marks, I sometimes use a multi-step kit like Scratch-B-Gone or Siege 63001. Kits bundle grits and compounds for a guided process.
If damage is widespread, deep gouges, or the finish risks uneven reflection, I stop and call a professional restorer to avoid irreversible removal errors.
- Quick checklist: test inconspicuous spot, go slow, use straight with-the-grain strokes.
- Avoid aggressive powders unless specified; too much pressure widens a dull patch.
- Track time on each pass and wipe residue to see real progress.
My takeaways to keep stainless steel looking great over time
A careful, regular approach makes most blemishes simple to manage. My first rule: remove grit, then clean gently with warm water and a microfiber cloth or a stainless-safe cleaner, and always dry to avoid mineral spotting.
The good news is most cosmetic marks are manageable. For light lines I use a baking soda paste; for deeper ones I sand with fine-grit paper, working with the grain. I choose non-abrasive products and limit powder cleaners unless directions allow sparing use.
I protect high-traffic zones with low-visibility films on sinks and appliance faces. For complex or widespread damage, I call a pro rather than risk uneven removal. For a practical guide on removing minor marks, see removing scratches from stainless steel.


