Can a fast weekly routine really keep an exterior looking brand new?
I promise a quick, repeatable method that keeps my stainless surfaces gleaming without risk. I tested Bar Keepers Friend Soft Cleanser, Bon Ami paste, vinegar with a touch of oil, dish soap and water, and WD-40. Bar Keepers Friend won for shine and rust removal. Bon Ami handled rust well and left no streaks. Additionally, for those looking for an efficient DIY solution, I recommend a simple stainless steel cleaner recipe that combines equal parts vinegar and olive oil. This mixture not only cleans but also leaves a protective coating, ensuring your surfaces stay spotless for longer. With these tips in hand, maintaining your stainless surfaces can be both effortless and effective. For those who own stainless steel rings, it’s important to adopt specific cleaning methods for stainless steel rings to preserve their luster and prevent tarnishing. A gentle dish soap solution can work wonders, along with a microfiber cloth to avoid scratching. Regular maintenance will ensure your jewelry remains as stunning as the day you got it.
I work with the grain every time. That simple habit prevents micro-swirls and keeps the finish uniform. My routine uses minimal product, gentle pressure, and a final buff with a microfiber. Weekly sessions take 10–15 minutes; deeper attention for rust or baked-on soils.
I never use ammonia sprays, steel wool, abrasive pads, harsh acids, or oven cleaners that can damage a surface. For more on safe sprays and manufacturer guidance, see this brief note: Windex and stainless appliance guidance.
Why I Trust This Method to Clean Stainless Steel Appliances
I trust a simple, repeatable routine because it delivers consistent, showroom-level results on my appliances.
I tested five common approaches and found Bar Keepers Friend Soft Cleanser gave the best shine and rust removal on a stainless steel appliance surface. Vinegar with a touch of olive oil polished fast. Bon Ami removed rust without streaks. Dish soap left streaks more often, and WD-40 left a film and odor. In addition to testing these cleaners on various surfaces, I also evaluated how they performed specifically on stainless steel oven tray features. The Bar Keepers Friend Soft Cleanser not only excelled in shine and rust removal but also restored the luster to the oven tray without any residue. Overall, the right cleaner can make a significant difference in maintaining the appearance and longevity of stainless steel appliances.
Manufacturers back the basics: work with the grain, avoid ammonia and abrasives, and use oxalic acid cleaners for rust and blemishes. That direction matters for finish longevity and easy upkeep.
What earns my trust is real-world control. A small amount of cleaner, steady wipes in one direction, and a final buff prevent haze and drag marks. The routine fits quick weekly care or a deeper pass after heavy use.
- I get a uniform finish across brushed or mirrored panels.
- The method removes light rust and old water drips faster than other methods.
- No strong sprays or airborne mist around food prep.
For a useful accessory that speeds results, see my note on a reliable cleaning cloth for stainless steel.
What I Use and How I Prep Before Cleaning
Before any polish or scrub, I lay out a tidy kit so work stays fast and safe.
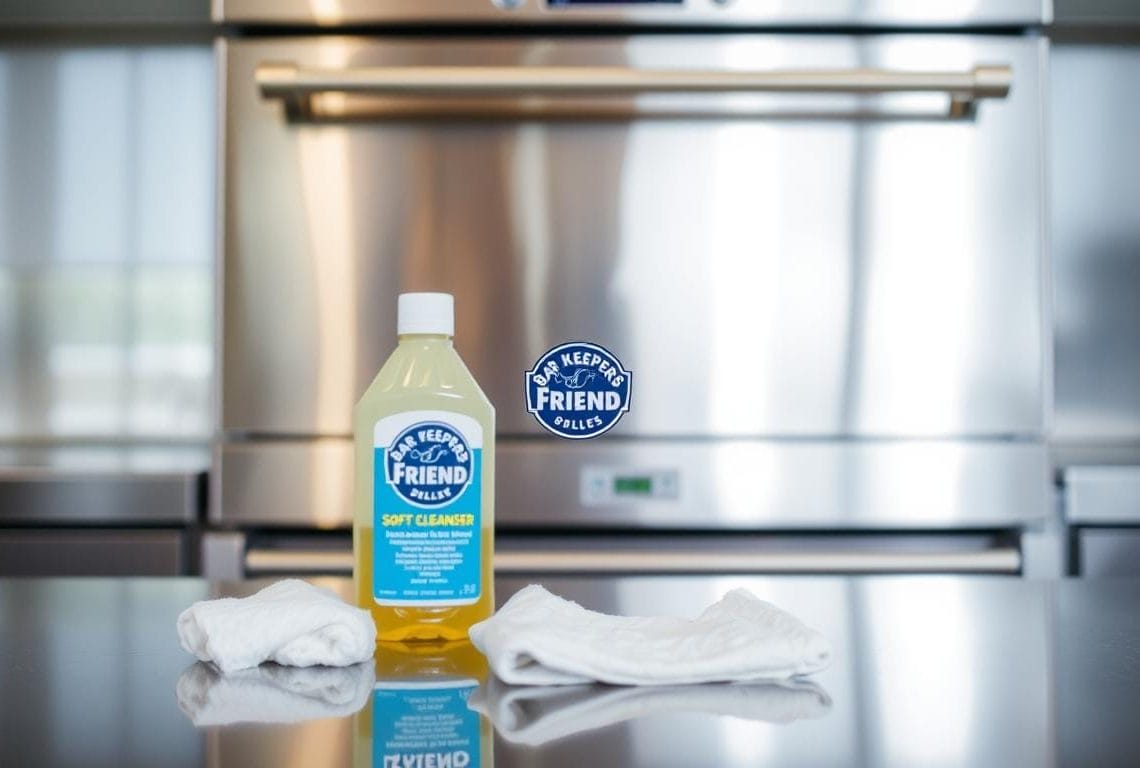
I set up a small bowl of warm water, a damp sponge, Bar Keepers Friend Soft Cleanser for deeper spots, and two microfiber cloths. One cloth wipes; the other stays dry for the final buff. This kit keeps products organized and limits cross-contamination.
Manufacturer guidance matters: for daily maintenance I use mild dish soap and water. I avoid ammonia sprays, steel wool, abrasive green pads, bleach, and harsh oven chemicals. Those items can damage the protective chromium oxide layer on a surface or appliance finish.
- I pre-test the finish by finding the grain: look for fine, parallel brush lines and plan each pass in that direction.
- I wring the sponge so it is damp—not dripping—so seams and controls stay dry.
- I place a towel beneath the door and start at the top, working down toward handles and the kick plate.
I turn the appliance off and wait until it is cool. If I must work near electronics I unplug or switch the breaker. For oily residue, I first wash with dish soap and water before using any specialty cleaner.
how to clean stainless steel oven: my step-by-step process
I follow a three-step sequence that beats elbow grease: apply, rinse, and buff.
Apply: using Bar Keepers Friend Soft Cleanser with a damp sponge along the grain
Apply a thin line of bar keepers friend on a damp sponge. Work in long, even strokes with the grain. Cover each panel in sections, top down, to avoid dragging grime over clean areas.
Rinse and remove residue: fresh water pass to leave the surface clean
Rinse the sponge under fresh water and wring well. Make a second pass to lift any residue so the surface is truly clean and not just scented.
Polish and protect: buffing with a clean microfiber cloth for a streak-free finish
Buff immediately with a dry cloth, again following the grain. Light-to-moderate pressure is enough; the cleaner does most of the work.
Timing, amount, and technique
Timing: a full door takes about 5–8 minutes. Most time is in rinsing and careful buffing.
- Amount: a nickel-sized line of friend soft cleanser per quarter panel is enough; add a bit if needed.
- Use the sponge’s soft side at edges and handle bases to protect trim while lifting oils and fingerprints.
- If a spot resists, apply a pea-sized dab of keepers friend soft and work short, grain-aligned strokes, then rinse and rebuff.
Final check: view the surface at an angle under bright light. Any remaining film shows up and gets a quick second buff until the finish pops.
Other Methods I’ve Tested and When I Use Them
Some messes need a gentler touch or a different technique, so I keep a few reliable options on hand.
Dish soap and water is my daily go-to for light soils. It lifts fingerprints and food smudges fast. I follow with a dry microfiber buff to avoid faint streaks.
Vinegar with a touch of oil
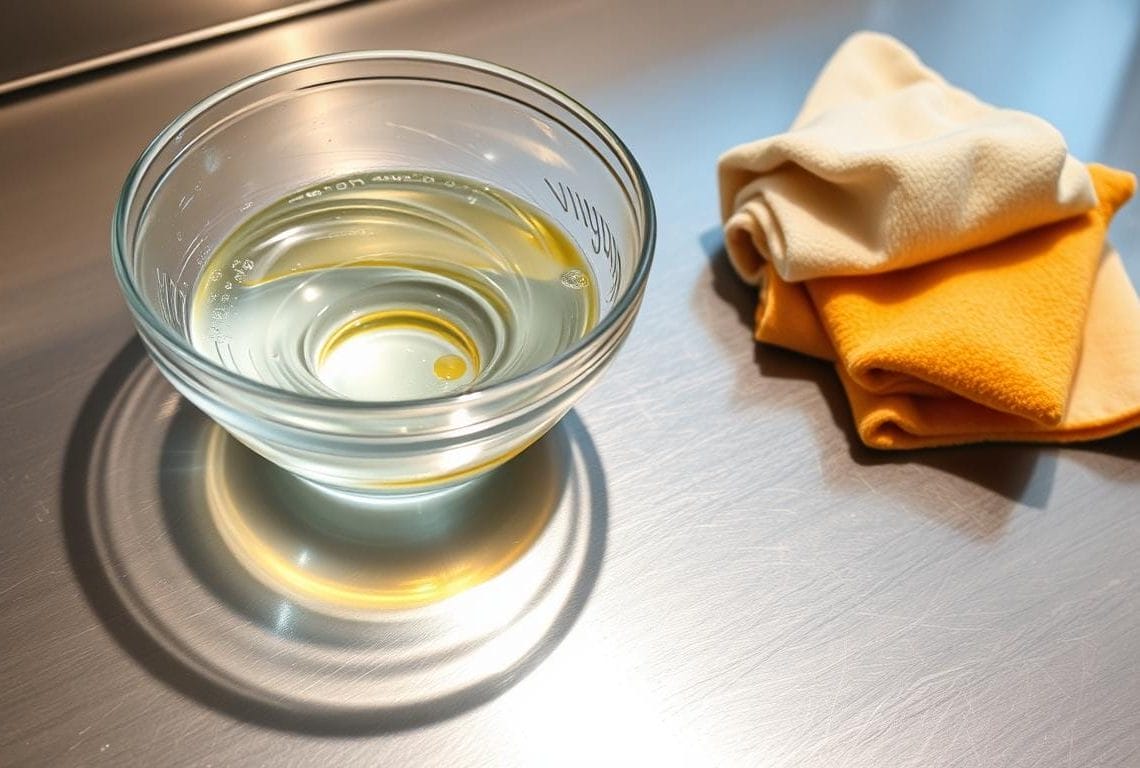
White vinegar (5% acetic acid) cuts grease quickly. After the vinegar pass I use a tiny drop of olive oil on a towel to restore luster. This method gives a fast shine without product buildup.
Bon Ami paste for stubborn spots
I mix Bon Ami into a gentle paste and work with a soft sponge along the grain. It removes rust specks and tough residue, but it needs an extra rinse and a thorough dry to stay streak-free.
WD-40: occasional, cautious use
WD-40 gives instant shine but leaves a film and a strong odor. I rarely use it near food areas and only when a quick single-step shine is necessary. Afterwards I wash the area with soap and water before any stainless-specific cleaner.
- I choose a method by mess: soap for fingerprints, vinegar plus oil for dullness, paste for rust.
- For appliance suites, I match the approach across panels so the sheen looks uniform.
- When a film remains, a final microfiber buff brings the surface back to a clean feel.
For further guidance on safe product choices, see a trusted cleaning guide and this note on utensil care: stainless utensil tips. Additionally, it’s important to identify the right cleaning products to maintain the shine and integrity of your stainless steel. For comprehensive instructions on how to clean stainless steel, refer to specialized resources that provide insights on techniques and solutions best suited for different types of appliances and utensils. Regular maintenance will not only keep your items looking new but also prolong their lifespan. When cleaning stainless steel surfaces effectively, it’s crucial to avoid harsh chemicals that may damage the finish. Instead, opt for natural solutions, such as vinegar or a mild soap mixture, to ensure a gentle yet effective clean. Additionally, using microfiber cloths can help achieve a streak-free shine while preventing scratches on your stainless steel items.
Troubleshooting Stainless Steel: Rust, Discoloration, and Streaks
Rust spots, streaks, and mild discoloration each ask for a different, low-risk approach.
Rust and small blemishes
For rust or tiny blemishes I use an oxalic acid liquid such as Bar Keepers Friend Soft Cleanser. I dab a damp soft sponge and work strictly with the grain. Short, steady passes lift the spot without dulling surrounding panels.

Discoloration and heat marks
I treat tone shifts with a dedicated stainless cleaner and polish. I follow the brush marks and apply light pressure. Repeat short passes until the hue evens out.
Streaks, film, and residue
If a surface looks clean but won’t shine, I suspect residue. My fix: a fresh water wipe, then a dry microfiber cloth buff in long, grain-aligned strokes.
Scratches and realistic limits
I can reduce the look of light scuffs by polishing with the grain, but deep scratches rarely have a true repair.
- Avoid abrasive green pads; they leave crosshatch marks that are hard to hide.
- If oil-based products were used earlier, wash with dish soap and water first.
- Check wide panels at an angle under bright light to confirm even results.
Bring the Shine Home Today
A single, repeatable sequence — apply, rinse, buff — makes maintenance fast and predictable.
, I keep my kit minimal: a damp sponge, a small amount of bar keepers friend or keepers friend soft, warm water, and a microfiber for the final buff.
My method is simple. Apply a pea-sized line of friend soft cleanser with the sponge along the grain, rinse with water, then buff dry. For daily upkeep I use soap and water; for rust or stubborn marks I reach for an oxalic option or Bon Ami. Use light pressure, long strokes, and a dedicated polishing cloth.
Ready to try it? Grab your supplies and use this method on one panel first. The right amount and steady strokes make appliances look uniform and refreshed.


