
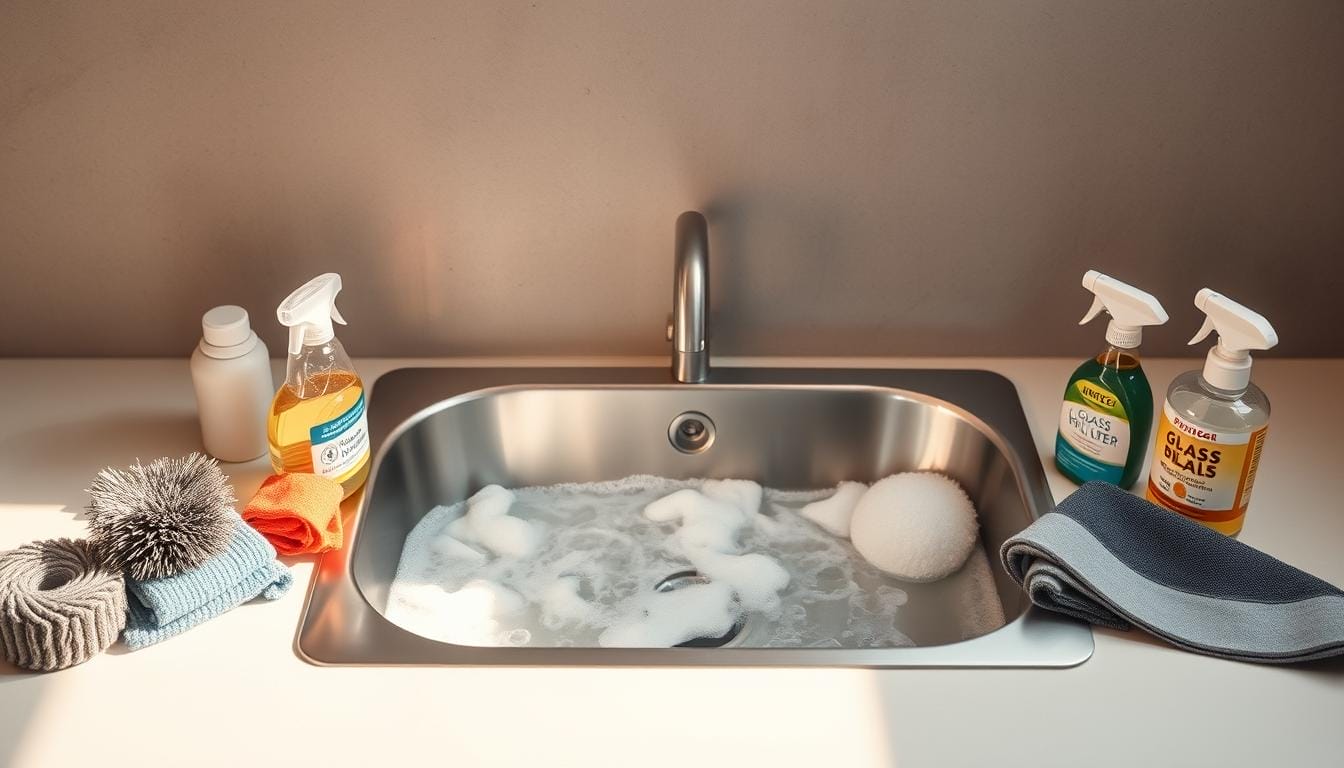
Curious if a simple microfiber wipe can outshine pricey polishes? I ask that because my best results start with a soft cloth and warm water, and then I only step up when needed.
I share a clear, repeatable routine that protects finish and saves time. First, I follow the grain and dry thoroughly to avoid spots. For stubborn marks, I mix baking soda with a little water into a paste, rinse, then polish with a drop of olive oil.
I favor gentle options like Therapy Clean, club soda, or steam over abrasive scrubbers. For cookware, I let a hot pan cool, then use boiling water or a 50/50 water and vinegar simmer for scorched residue. I also label solutions and check manuals before trying a new cleaner.
Read on for step‑by‑step methods, exact mixtures, and the simple habits I use to keep every surface looking sharp without harm.
Why I Trust Simple Methods for a Streak‑Free Stainless Steel Shine
For everyday shine I start small: a soft cloth dampened with warm water lifts residue without risk. I use a microfiber cloth first because it traps oils and dust without scratching the finish.
I follow the grain when I wipe. That prevents fine swirl marks that catch light and make a surface look dull. After rinsing, I hand‑dry each area to avoid water spots and streaks.
When marks won’t budge, I step up with a baking soda paste or a diluted vinegar rinse. For quick, non‑toxic lift I sometimes use club soda or a garment steamer on door fronts and high‑touch panels.
- Start gentle: warm water plus a cloth removes most fingerprints.
- Finish smart: a tiny olive oil buff adds sheen and helps repel smudges.
- Avoid damage: no abrasive pads or scouring powders that can scratch steel.
- Read the manual: some finishes react poorly to certain cleaners, so I check before I apply anything new.
Gentle, consistent care keeps appliances and pans looking great for years with less effort.
What to use on stainless steel: the safe cleaners and tools I rely on
I keep a compact kit of gentle cleaners and soft tools that handles almost every mark. It fits under my sink and makes routine cleaning fast and low risk.
Nonabrasive essentials:
- Soft cloths and microfiber for wiping and buffing.
- A non‑scratch sponge for light scrubbing with warm water and mild dish soap.
- Cotton rags for final drying so spots don’t form.

- A baking soda paste for stuck residue on pans and cookware.
- Diluted white vinegar for mineral film and light sanitizing. I label that spray bottle and never mix it with other cleaners.
- Lemon for deodorizing or a quick boil inside pots pans.
- A drop of olive oil or baby oil rubbed with a soft cloth for a satin finish and fingerprint resistance.
Store‑bought choices: I reach for gentle formulas like Therapy Clean when I need a commercial stainless steel cleaner. I avoid ammonia, denatured alcohol, harsh abrasives, and any product labeled for aggressive steel stripping.
Quick rules: a little water and soap often beats heavy chemistry. Never use steel wool or scouring pads, and never pour polishing oils down the drain.
For a DIY option, see my DIY cleaner guide for simple, safe recipes and stepwise mixes.
My step‑by‑step routine for cleaning stainless steel appliances
A simple sequence of prep, lift, rinse, and polish gives me consistent results every time.

Prep
I clear magnets and loose items, then check the manual. I wipe panels with a damp microfiber soft cloth and warm water so grit won’t scratch the finish.
Lift stains gently
I wet stuck patches, then dab a baking soda paste, a mild dish soap mix, or diluted vinegar along the grain. For tougher marks I let a 1:1 water‑to‑cleaner solution sit about 30 minutes before working with a non‑scratch sponge.
Rinse, dry, and polish
I rinse with fresh water, wipe away residue, and hand‑dry to prevent water spots. I finish with a tiny drop of olive oil on a cloth and polish with the grain, then remove excess so dust won’t stick.
Quick alternatives
When I’m short on time I use club soda for fingerprints or a garment steamer for baked‑on grime. I never reach for steel wool or harsh scouring powders.
Gentle pressure and patience beat elbow grease and keep panels looking better, longer.
How I clean stainless steel pans and cookware by mess level
I sort cookware messes into levels; that helps me pick the quickest, safest fix.

Everyday cleanup
I let a hot pan cool first so I avoid thermal shock. Once it has cooled, I wash with warm water, dish soap, and a soft sponge.
I rinse, then dry with a cloth so mineral marks don’t form. This simple step keeps pans ready for the next meal.
Discoloration and buildup
For oily film or discoloration I sprinkle a powdered cleaner, add a little water, and make a paste. I work that paste across the inside and the bottom pan with a non‑scratch brush, then rinse and dry.
Scorched bottoms
I fill the pan with enough water to cover the scorched area and bring it to a boil. I scrape gently with a wooden spoon, then simmer a 50/50 water‑vinegar mix for deeper lift before scraping again and rinsing.
Inside versus outside
The outside often needs more elbow grease because simmering action helps only the inside. I never use steel wool; I prefer a pot brush or a copper cloth and a light baking soda paste for rims and handles.
- Final step: check rivets, wipe dry, then hang or stack with protectors.
Natural methods that work on real kitchen stains
I rely on pantry staples for the toughest kitchen grime. Simple chemistry, not harsh chemistry, does most of the work. I pick a method based on the mark and the part of the pan involved.

Baking soda paste and soaks for stuck‑on food and stains
I make a baking soda paste for spot treatment and let it sit a few minutes. Then I rub gently with a non‑scratch pad and rinse until the residue lifts.
For heavy buildup I add soda to water and bring the pan to a gentle boil for several minutes. That soak loosens stuck bits so I need less elbow grease.
Vinegar for mineral film, water spots, and heat tint
Diluted vinegar wipes work well for mineral film and that blue “rainbow” heat tint. I always follow the grain while wiping and then rinse with clear water.
If the sheen is stubborn, I repeat the wipe, then hand‑wash with dish soap to remove any lingering acid or scent.
Lemon boil for interior refresh and odor removal
To refresh the inside I simmer halved lemons in water for about 10 minutes. I then use the warm lemon as a mild scrub before a final rinse.
I finish by drying thoroughly. Cooling a hot pan first and avoiding steel wool keeps surfaces safe and bright.
Care habits I follow to keep stainless steel looking new
A few steady rituals have kept my pots and pans bright for years. These are small actions I repeat after every use. They prevent common marks and cut long‑term wear.

Make sure I hand‑dry right after rinsing. I focus on rims, handles, and rivets where droplets hide. That step stops water spots before they form.
Avoid thermal shock: I let a hot pan cool before running it under cold water. Sudden cooling can warp a pan and shorten the life of my stainless steel cookware.
Wait to salt until water is boiling. Adding salt early risks tiny pits that never go away, even though the cookware still cooks fine.
- I hang pieces when I can, or place soft pads between stacked pots pans.
- I keep steel wool out and scrub with non‑scratch brushes or a copper cloth for tough spots.
- I finish with a clean cloth so no moisture remains, especially if I have hard water.
These simple tips make cleaning a quick habit. Over the years, they keep surfaces bright with less effort. For appliance care and dishwasher questions, see my dishwasher guidance.
When stains won’t budge: my fixes for special cases
When marks refuse to lift, I switch from routine wipes to targeted steps that protect finish and restore shine without harsh scrubbing.

Remove heat tint
I dampen a soft cloth with diluted vinegar and wipe along the grain until the prismatic discoloration fades. If any tint lingers, I repeat the quick wipe, then rinse with mild soap and water to neutralize scent.
Refresh the bottom of a pan
For the exterior bottom, I wet the area, sprinkle baking soda, squeeze lemon, and let fizz for 10–20 minutes. I then gently rub with a pot brush or copper cloth and wipe away residue.
Final polish
After deep cleaning I pick a dedicated stainless steel cleaner such as Mauviel Inobrill and follow the included sponge steps. I avoid steel wool, rinse thoroughly, then hand‑dry with a final pass towel.
- Tip: keep pressure light and use only soft tools.
- Check labels: confirm any steel cleaner is compatible before applying.
- Extra protection: a light oil buff removes smudges; remove excess so dust won’t stick.
For utensil care and complementary methods, see my guide for clean stainless steel utensils.
Shine that lasts: my closing tips for clean, protected stainless steel today
My closing routine focuses on gentle steps that lock in a lasting shine.
I start with a soft microfiber and warm water, then target stubborn marks with a baking soda paste or diluted vinegar. Rinse well, wipe away moisture, and finish with a light oil buff. This cadence keeps appliances and cookware bright without harsh work.
For pans and pots, cool first, clean with soap and water, and treat scorch with a 50/50 water–vinegar simmer or a powdered paste. Store pieces dry, hang when possible, or pad between stacked pans to protect edges.
Trust Mauviel Inobrill for restoration and Therapy Clean for routine care. Also see my guide on a proper cleaning cloth for stainless steel for best results.
FAQ
How do I clean stainless steel appliances without scratching them?
I start with warm water and a drop of mild dish soap, wiping with a microfiber cloth or soft sponge along the grain. I avoid abrasive pads and steel wool that cause scratches and dull the finish.
What natural cleaners work best for everyday grime?
I rely on baking soda paste for stuck‑on food, diluted white vinegar for mineral film and water spots, and lemon or a light dab of olive oil for light polishing and odor removal.
Can I use store‑bought stainless steel cleaners?
I choose reputable brands designed for kitchen use and avoid products with harsh abrasives or chlorine. I test any new product on a hidden spot first and follow the label directions.
How do I remove discoloration or heat tint from cookware?
I gently wipe along the grain with diluted white vinegar or make a baking soda paste for light scrubbing. For tougher tint, I simmer a 50/50 water and vinegar mix, then scrub with a non‑scratch pad.
What’s my routine for cleaning pans after cooking?
After the pan cools, I rinse with warm water, wash with mild soap and a soft sponge, rinse again, and dry immediately with a soft cloth to prevent water spots and streaks.
How do I handle scorched or burnt bottoms?
I fill the pan with water, bring it to a boil, then add baking soda or a 50/50 water‑vinegar mix and simmer. Once cooled, I scrape gently with a wooden or silicone tool before washing.
What do I do for stubborn stains that won’t budge?
I make a paste of baking soda and water, let it sit, then gently rub with a soft sponge. For persistent marks I repeat or use a powdered stainless cleaner following the product instructions.
How can I prevent water spots and maintain a lasting shine?
I always dry surfaces immediately with a soft cloth after rinsing. Occasionally I polish with a tiny amount of olive oil or a commercial polish, rubbing along the grain for an even sheen.
Are there cleaning habits that protect cookware long term?
I avoid thermal shock by not plunging hot pans into cold water, wait to add salt to boiling water to prevent pitting, and store pans with padding between stacked pieces to prevent scratches.
Is vinegar safe for every stainless surface?
I use diluted white vinegar for most stains and water spots, but I avoid prolonged exposure or harsh concentration on polished finishes—always rinse and dry after treatment.


