What makes a rigid mesh truly reliable under daily use and real impact?
I rely on a purpose-built mesh that uses a 7×7 cable construction: seven strands of seven wires. This layout gives predictable strength and steady behavior when loads shift or a point load hits.
The cables run vertically in parallel and meet at pressed cross clamps with rounded profiles for safer handling. I inspect clamps and geometry during production so the product shows uniform performance in the field.
I describe specifications, sizes, and installation options on the page so you can match openings and edge fittings to your project. I also explain when to split large panels, connectors to consider, and basic safety notes for tensioning and working loads.
In short, I offer a rigid, weather-ready mesh system built for consistent performance, clean appearance, and clear safety guidance for your application.
Why I choose stainless steel net for reliable performance
I pick this wire mesh because it combines high load capacity with real-world flexibility on site. It resists hard impact, prolonged tension, sun exposure, and common chemicals while still bending to fit posts and irregular openings.
Consistent strength and predictable behavior let me set safe working loads and document installation choices. For example, a 1/8-inch cable is rated at about 340 lbs per cable, and a 4-inch mesh size is a common option for many protection applications.
I favor panels with perimeter loops for fast attachment, though threaded fittings, forks, and eyelets are available when a job needs specialized interfaces. That repeatable hardware makes field teams more efficient and helps maintain safety across a site.
- I specify mesh size and cable diameter to match containment goals and access needs.
- I document tensioning and support so the final installation meets protection and inspection standards.
- I verify wire chemistry and anchors to ensure long-term reliability in outdoor and industrial settings.
These choices let me deliver dependable nets and netting that protect people, equipment, and sites without surprise maintenance.
stainless steel net: Specifications and options
I choose construction details to make performance predictable and installation straightforward. My specification sheets tie cable count, clamp spacing, and mesh size to a clear working envelope so you know the expected behavior on site.
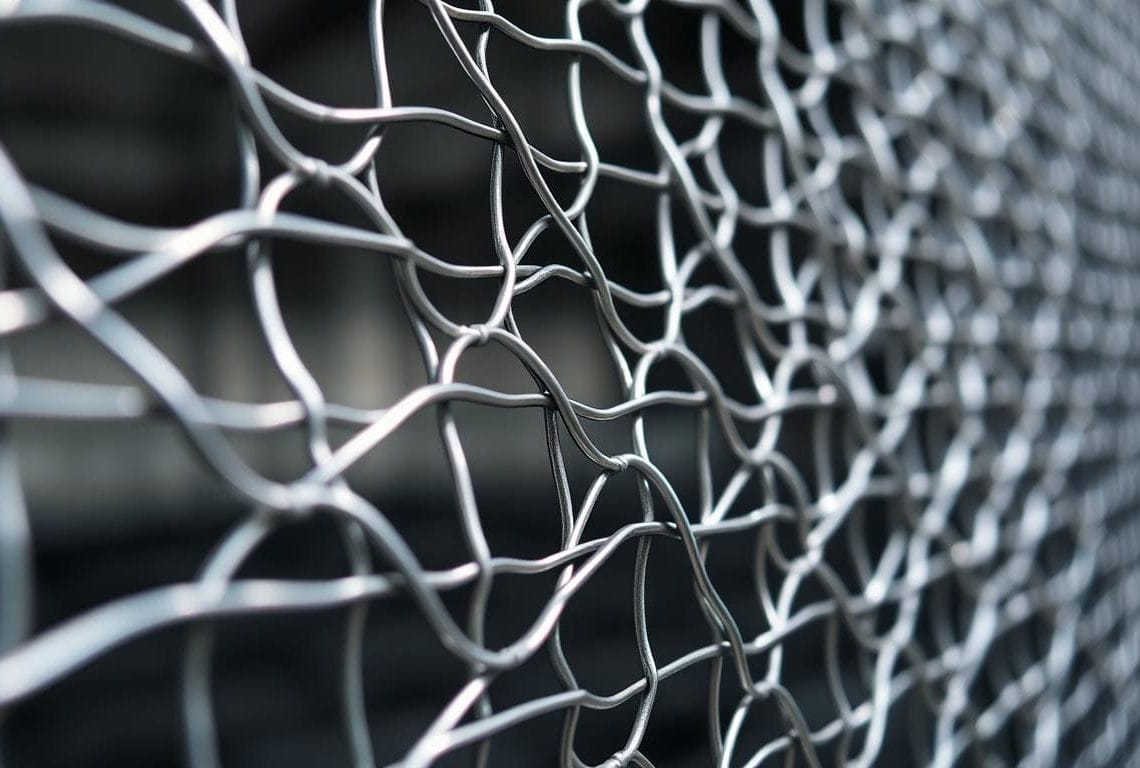
7×7 cable construction and pressed cross clamps
I use a 7×7 cable formation—seven strands of seven wires—to balance flexibility and form stability. This layout lets the panel conform to frames while keeping straight lines under tension.
Pressed cross clamps secure every intersection. I pick rounded clamp profiles to reduce snagging and make handling safer during install and maintenance.
Rigid wire mesh behavior vs. textile nets under impact
This is a rigid wire mesh system, not a textile. Under impact it disperses energy differently, so I factor connector slip resistance alongside rope breaking force when setting safe loads.
That means I plan for connector performance, not just raw cable strength.
Quality control and manufacturing standards I follow
I document mesh size as the inner-edge-to-inner-edge opening and note slight edge adjustments so delivered panels fit ordered frame dimensions. I capture tolerances in the order confirmation for field crews.
- I verify cable diameter and clamp pressing at set checkpoints.
- I align clamp spacing, cable count, and mesh size to your specified load case.
- I record any special clamp types or loop options early to keep production on schedule.
For detailed product data and available openings, see my steel wire mesh information page: steel wire mesh specs.
Sizes, mesh size, and dimensioning for a perfect fit
I measure panels to match the exact distance between attachment points so the finished product seats into your frame without on-site rework. Defining size this way reduces adjustments and speeds installation.
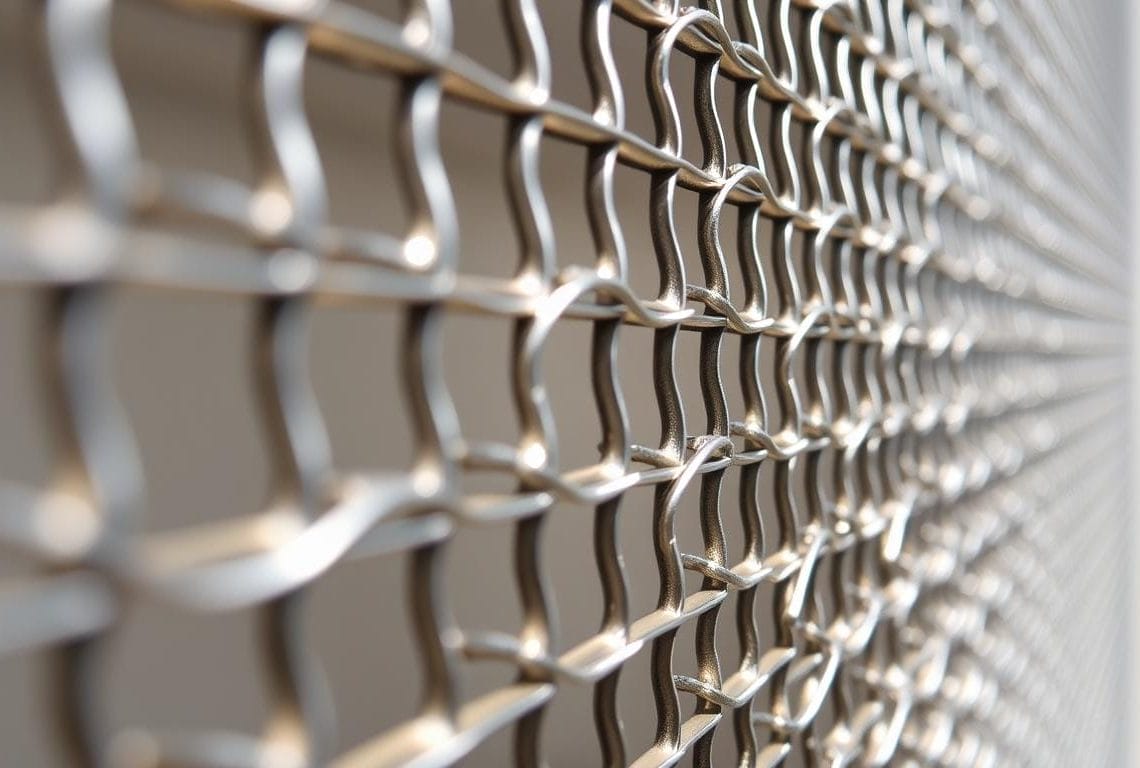
How I measure net size and mesh opening
I define net size from the inner edge of one outer loop to the inner edge of the opposite outer loop. That distance is the anchor-to-anchor measurement buyers should supply.
Mesh size is measured the same way: inner-edge-to-inner-edge between wire ropes. Edge meshes may shift slightly to honor the overall ordered dimension and chosen edge design.
Maximum width, length, and weight limits with ordering tips
My standard production handles up to 500 cm per panel in width; wider panels are possible on request. Length is effectively unlimited, and single-panel weight tops out at 1,000 kg.
For handling and safety, I recommend splitting panels heavier than 300 kg into multiple sections. I also set slight pre-tension at install and reduce nominal size where loops attach in ways that may draw in under load.
- Alignment: I use inner-edge references so your frame distance matches delivered panels.
- Tolerances: I document edge mesh adjustments in the order confirmation to preserve overall opening dimensions.
- Logistics: I coordinate lift plans and favor multi-panel strategies to speed rigging and protect crews.
For a quick reference to common opening and panel sizes, see the wire mesh sizes chart — wire mesh sizes chart.
Load, tension, and safety guidelines you can trust
My load guidance links cable capacity, panel geometry, and connector behavior into a single, auditable method. I provide an on-page load rating guide and a downloadable PDF that shows the math and example figures so you can verify calculations on site.
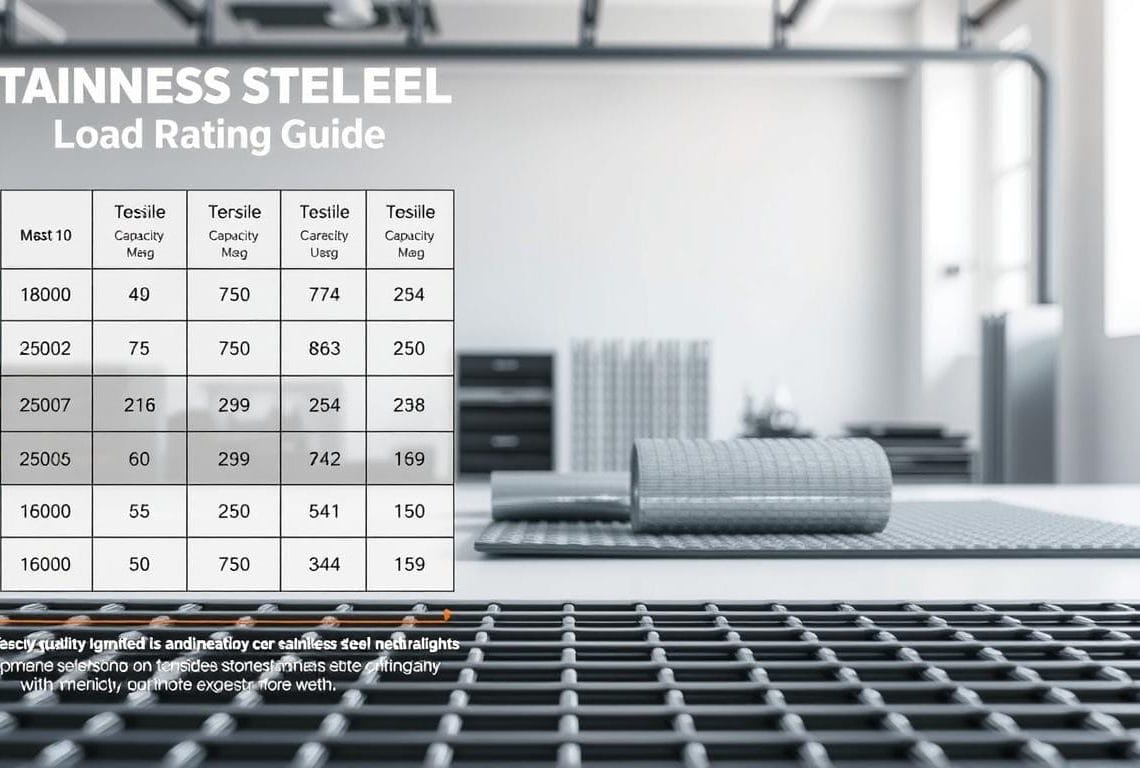
Safe working load basics and using the load rating guide
I determine safe working load by combining the capacity per cable line, the number of active cables, and panel geometry. For example, a 1/8-inch cable is rated at about 340 lbs per cable with a 4-inch mesh size in the sample diagram.
Setting slight tension and accounting for loop distortion
I install with slight pre-tension to stabilize openings and reduce dynamic snap. Loops can distort under load and shorten, so I adjust nominal size at order time to preserve the finished opening once tensioned.
Slip resistance of connectors vs. rope breaking force
In rigid wire networks, clamp slip resistance often governs performance more than raw rope breaking strength. I test connectors and specify fittings so clamp behavior under impact does not undermine calculated safety margins.
- Follow the on-page guide and PDF to audit load math and assumptions.
- Verify pre-tension and that anchors share load evenly during field checks.
- Schedule inspections for fittings, clamp integrity, and absence of warps or pinches.
- Plan lifting and rigging to protect clamp profiles and preserve rated performance.
These guidelines help keep the system’s documented strength and protection reliable through installation and service life.
Edge designs, loops, and optional fasteners
Edge choices and fastening detail decide how a panel carries load at its perimeter. I set edge style early so the final opening, attachment, and safety performance match the install conditions.
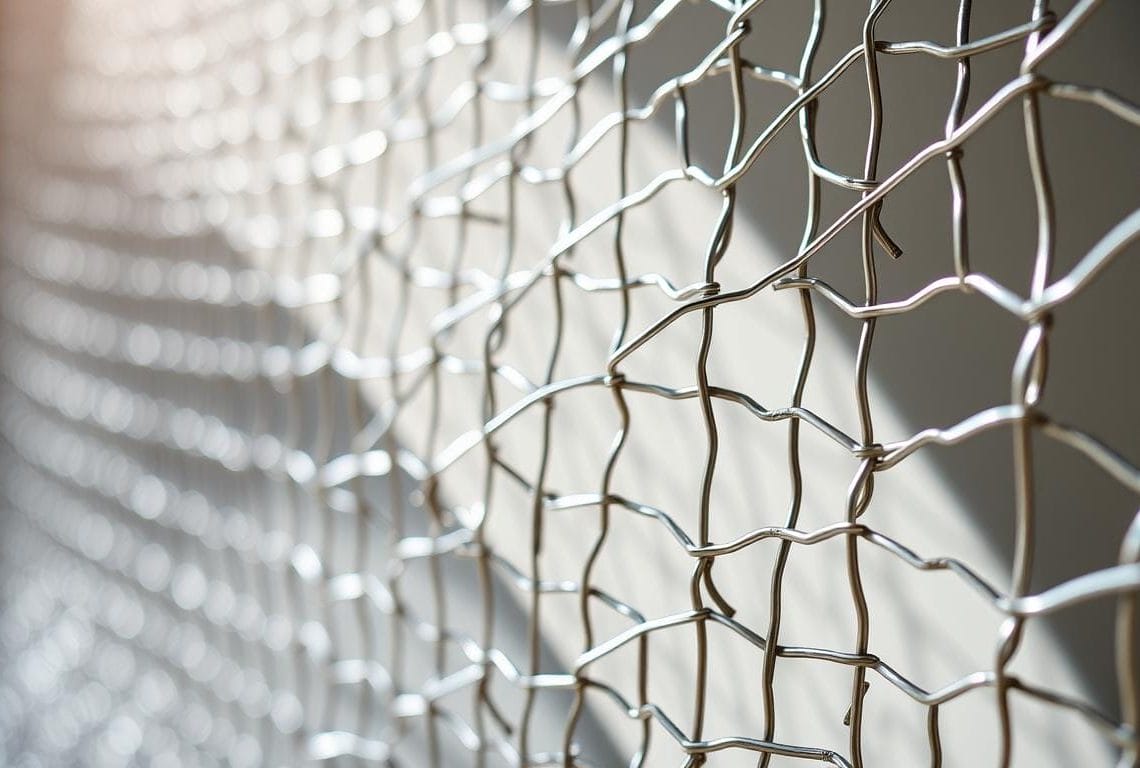
Standard loop edges and stitch course options
My standard edge uses loops on every second mesh because the rope meanders and creates reliable anchor points.
I select closed or open stitch courses by panel sizes and aspect ratio. For wide panels I may break the run into multiple cable segments to control tension and preserve the ordered opening.
Thimbles, threaded fittings, eyelets, and forks
I recommend thimbles where a shackle or pin bears on the edge to protect the wire and reduce wear.
Threaded fittings—open or internal—work when I need fine take-up or to mate with tapped receivers. Eyelets speed repeatable pin connections. Forks with locking bolts give positive capture for moving frames.
Perimeter cable and all-around fastening
When a continuous frame is needed, I add a perimeter cable threaded through edge meshes to spread tension and lower point loads.
- Default: loop edges for fast, versatile mounts.
- Load fit: choose fittings to match the expected load so the interface is not the weak link.
- Materials: fasteners are available in galvanized or stainless options to suit exposure and lifecycle needs.
Installation methods that protect strength and safety
Protecting the designed load path during installation is my first priority on every job.
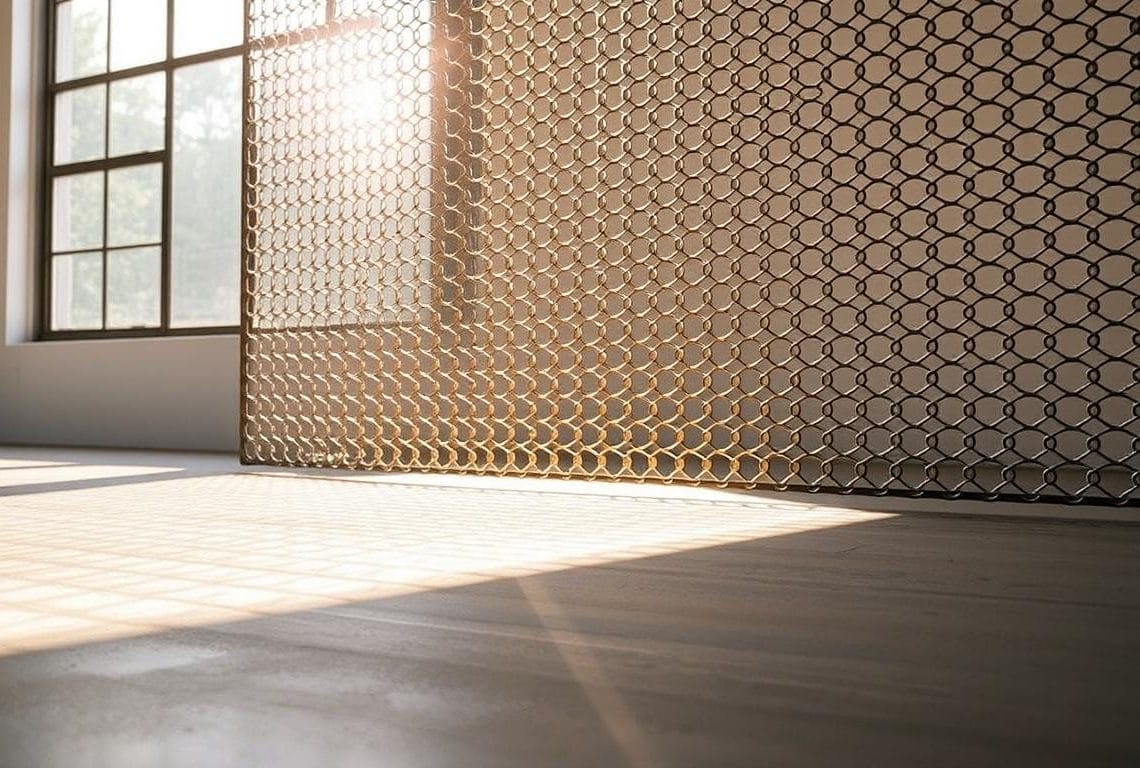
Mounting to frames and rigid substructures: I mount panels directly to rigid frames, profiles, or pipework when I need precise geometry and minimal deflection. I use hooks, eyes, or compatible fittings so field assembly is repeatable and tidy.
Mounting to frames, profiles, and rigid substructures
I align anchor spacing to mesh geometry so loops engage symmetrically. This preserves appearance and structural performance.
I document barrier objectives and confirm substructure stiffness so the system performs under operational and impact loads.
Tensioned and wrapped cable techniques
I use an additional tensioned perimeter cable threaded through edge meshes when continuous support and easier retensioning are required.
For irregular posts or beams I apply wrapped cable methods to keep load paths consistent back into the structure.
Avoiding pinching and warping to maintain rated strength
Avoid pinching or warping the panel at all costs. Deformation introduces shear and extra edge tension that can cut rated capacity.
- Stage panels to prevent twisting during hoist and confirm clamps sit flat before final tensioning.
- Use mechanical take-ups or threaded fittings where precise tension control is needed.
- Train crews on inspection points: fastener security, no kinks, and even loop seating.
For step-by-step field guidance I also reference my installation checklist and the link on installing heavy-duty safety nets: installing heavy-duty safety nets.
Material choice: T-316 vs. T-304 for demanding environments
Material choice drives durability, so I match alloy grade to the project’s exposure and fabrication needs.
Corrosion resistance, marine performance, and chemical exposure
T-316 includes molybdenum, which gives superior pitting and crevice resistance in warm chloride environments. I specify T-316 when marine or aggressive chemical exposures are expected.
I use T-304 for many interior or mild exterior jobs where cost and availability matter. Both grades work in wire mesh and steel wire constructions, but I reserve higher grades for harsh sites.
Heat resistance up to 1700°F and weldability for fabrication
T-316 offers oxidation resistance near 1600°F intermittent and about 1700°F continuous service. Its weldability and fabricability let me deliver clean joints and reliable manufacturing results.
- I document the chosen type and the reasons in specifications and submittals.
- I match diameter, mesh size, and finishing to the alloy to balance performance and total cost.
- I verify that the selected material supports on-site welding, joining, and inspection requirements for long-term safety.
Applications across construction, safety, and industry
I apply these mesh systems where real-world hazards demand predictable containment and easy inspection. Their performance under impact, prolonged tension, and environmental exposure makes them fit for many uses.

Impact, debris barriers, privacy, and site protection
I deploy panels as impact and debris barriers on construction and industrial sites, sizing openings and panel dimensions to the expected threat.
I design tighter openings for privacy and screening while keeping airflow and a clean architectural line.
Perimeter protection uses higher cable counts and stout posts to handle incidental contact and working loads.
From marine and pharmaceuticals to oil field and aerospace
I specify T-316 for marine, food, and lab environments for corrosion resistance and cleanability.
In refineries and oil fields I favor rugged configurations that tolerate temperature swings and heavy duty service.
Aerospace and pharmaceutical applications demand reliable partitioning, visual transparency, and easy inspection.
- Match opening, load, and cable choice to debris size, velocity, and frequency.
- Coordinate posts and substructures to preserve intended load behavior.
- Align material, fittings, and maintenance plans with regulatory needs.
Ready to move forward: Request, manufacturing, and shipping
To move from quote to production, I need your frame span, chosen mesh size, and the edge detail.
Send a detailed request with anchor-to-anchor dimensions, preferred mesh size, and edge option so I can confirm specifications and price. For loop edges, reference the inner edge of the outer loops. Note standard width is up to 500 cm; length is not limited.
I produce a submittal that shows manufacturing details, clamp layout, and tolerances. I document lifting and handling guidance and recommend splitting any single net over 300 kg (max single weight 1,000 kg).
I’ll coordinate posts, options like thimbles or eyelets, and shipping schedules. For product details see our woven wire mesh page: woven wire mesh. I remain available after shipping to review as-builts and assist with site revisions.


